Looking for a place to keep all your kitchen appliances, groceries, and perishable organized? You can now build pantry shelves at home to solve the problem of storage and clutter. The interiors of the house are designed in a manner that makes the place look spacious. This is feasible when in-built storage is used, for example, storage in couches, beds, dressers, etc.
The kitchen is one such area in the house that is filled with all types of appliances and different sizes of utensils, as it is inevitable to run a kitchen without a well-equipped kitchen. These appliances, utensils, and groceries occupy a lot of kitchen area. Hence pantries are designed to harbor this stuff. Even after the space in the pantry, the stuff remains cluttered everywhere due to lack of space. Instead of renovating the kitchen for more storage, you can choose a DIY home project that is inexpensive and easy.
This stepwise guidance of DIY pantry shelves will help in offering a variety of storage solutions and make the pantry look tidier and bigger.
What Material Should Be Used to DIY Pantry Shelves?
Pantries can be designed in two broad manners, i.e., inside a kitchen cabinet or a dedicated small room. Choosing a small area as a pantry can offer many options for storage. This walk-in facility can be used efficiently, as you’ll get the entire vertical space, i.e., from floor to ceiling, for de-cluttering. You can DIY a home project for the pantry by making shelves, and hence the functionality of the small space will increase. Here is a comprehensive guide on how to begin DIY pantry shelves from scratch.
- If you are renovating the old pantry that already has shelves, remove them with the help of a hammer if they are not attached with screws. This gives you an empty room, so you can easily decide the design, height of the shelves, position of the shelves, etc.
- Prepare a layout or map of your current pantry, so you can stick to the design. Take the dimensions of the empty room and where you want the shelves to be, like using the pantry with C-shaped shelves so that the corners are also taken into use, using each wall separately with pantry shelves, or making a U-shaped pantry shelf, etc.
- While deciding the pantry shelves’ position, keep in mind the distance between the shelves, as different sizes of appliances like ovens, refrigerators, jars, utensils, and groceries will be harbored on each shelf.
- You can keep a descending distance between the shelves from bottom to top, so bulky stuff can be kept below. One of the most important factors while DIY pantry shelves are that you design them at a height that is easily accessible to you so that you don’t require a stool or chair every time you go inside a pantry.
- Consider the thickness of the shelves while designing the layout. Choose at least 3 to 4 inches of thick and sturdy wood for the pantry shelves so they remain durable for longer.
- Make a list of the number of plywood sheets that you’ll require while using DIY pantry shelves. You can cut these panels at home as per requirement and space availability.
- To evenly distribute the weight of the shelves and keep them aligned, you’ll require cleats as back support.
- Once the materials required for the DIY pantry shelves are completed, you can polish the old pantry by giving it a fresh coat of paint from the ceiling to the walls so that the new pantry shelves and paint give the space an airy look.
- As the pantry will be the hub for storing all perishables and groceries, make sure that the floors and trims are in good condition. You can choose vinyl plank flooring for the space, as it is easy to install and waterproof.
How to Begin DIY Pantry Shelves?
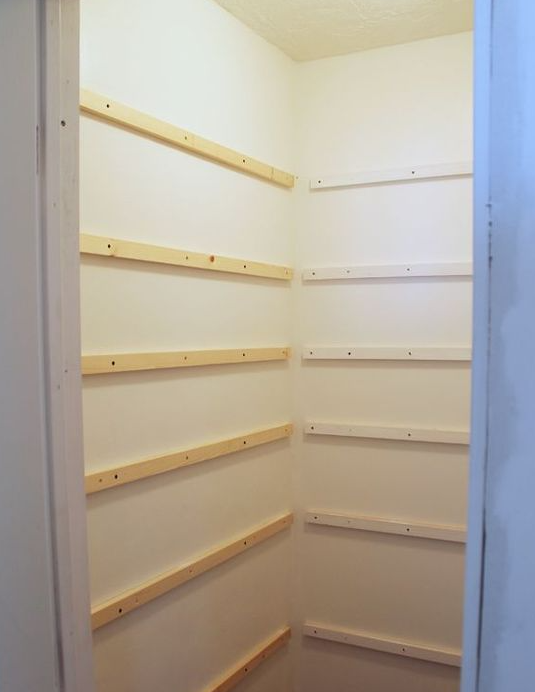
Once all the layout is done and materials are gathered, mark the walls in the pantry where shelves are to be installed.
- Initiate the DIY of pantry shelves by cutting the cleats as per the length of the plywood with the help of a miter saw. Cross-check the cleats inside the pantry to see that it fits inside. By keeping the first cleat as standard, cut the other cleats as per the number of pantry shelves.
- Start attaching the cleats from the bottom level. With the help of a stud finder, it will mark the cleats where each of the studs is in the wall. With the help of the leveler on top of the cleat, attach it to the stud. Attach the cleats from the middle of the wall so you shift them up and down if needed.
- The bottom cleat can be taken as an example for the above pantry shelves’ cleat. Cut wood strips in different lengths, which will act as spacers between the cleats. This helps keep the back support in alignment. Remember to cut the spacers of the length you need between the shelves; spacers will either be ascending in size or the same size.
- The cleats on the side walls will be attached to the studs and the back cleat. With the help of a pocket hole jig, drill a hole on one side of the cleat, so it can be attached to the back cleat with a pocket hole screw. While attaching the cleats in the pantry, use the leveler for a double-check.
- For smaller cleats on the side walls, you can use pocket hole screws and anchor screws for the drywall.
- After the cleats have been attached, cut the long shelves for the back walls first with the help of a circular saw or miter saw. After this step, dry fit the longer shelves for a double-check on the dimensions, then move ahead by cutting the smaller shelves for the side wall.
How to Install DIY Pantry Shelves?
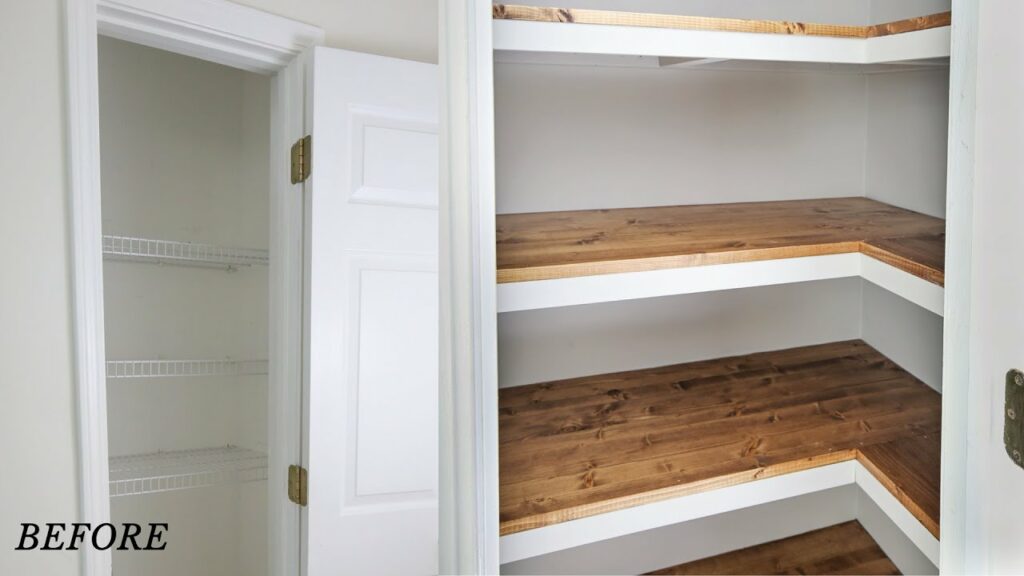
After the different lengths of pantry shelves have been dry-fitted, drill pilot holes at regular intervals on the wood planks. Mark the spots where the holes need to be drilled, keeping in mind that they do not overlap the cleat screws.
- Label the shelves, so they can be installed back in the same space. Add pilot holes in the marked spots using a countersink bit, so that the screws do not stick out over the top of the wood and can be covered with wood putty.
- Put the longer shelves in their original place, and with the help of wood screws, attach the shelves through the pilot holes into the cleats.
- The side shelves can be installed by attaching them from underneath with pocket hole screws to the nearby shelves and wood screws for the cleats.
- After all the shelves have been secured in place, take the vertical measurement, and cut a support bar, i.e., a wooden plank placed in the center of the back shelves. With the help of a nail gun, attach the support bar to each back shelf.
- For a visually appealing look, add shelf facings in front of the back shelves, and attach them with the help of a nail gun.
- The DIY pantry shelves can easily be built by following the above steps. To make them look polished and like new, add wood fillers and caulking to make a difference.
- With the help of wood putty, you can fill in all the screw holes, seams, nail holes, shelf facings, and corners for a saturated surface.
- Wood glue and pocket hole plugs can be used to plug all the holes in the cleats and underneath the shelves. After all, this has dried, use fine grit sandpaper and coarse paper on the wood putty, shelves, facings, and pocket holes for a smooth surface.
- After wiping off all the dust with a damp rag, allow the shelves to dry completely. Go through this stepwise DIY pantry shelf method to make the process a simple one.
How to Make The DIY Pantry Shelves Look Beautiful?
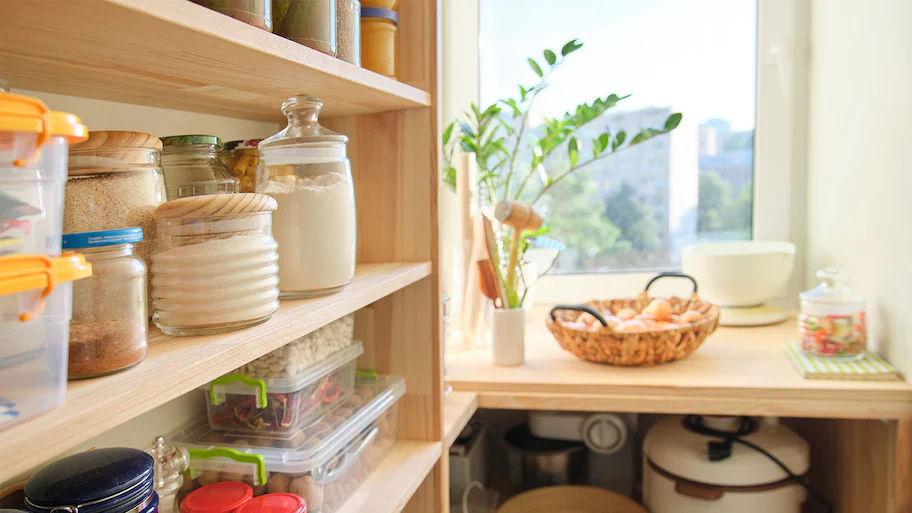
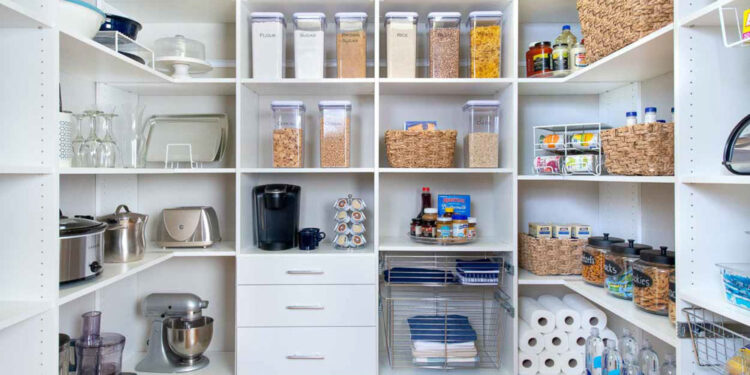
The pantry will be the primary source for storing all your kitchen and its related stuff. It is essential to keep it organized and clean. These DIY pantry shelves can be used as standalone storage as well as can be equipped with other storage materials like baskets, cubbies, jars, and drawers.
By using wood fillers and sandpaper, you can give the pantry shelf a smooth surface, but the wooden planks need to be painted or stained for an aesthetic look.
- While painting the pantry shelves, begin by using a primer on the wood surface. Allow it to dry.
- Later on, apply the first coat of paint on the shelves. You can choose any color for the surface to make it look beautiful. By using dark brown color paint, you’ll get a rustic pantry view, whereas the white shades on the shelves will give a modern touch to the small room.
- Before applying the second coat of paint, with the help of a caulking tool, caulk the back edges along the walls for a nice, clean, smooth edge. As the caulk is white and does not need more than one coat of paint over it, it looks perfect in the end.
- These inexpensive DIY pantry shelves will make the small room look spacious and make each corner efficient for use.
How to Use The DIY Pantry Shelves Effectively?
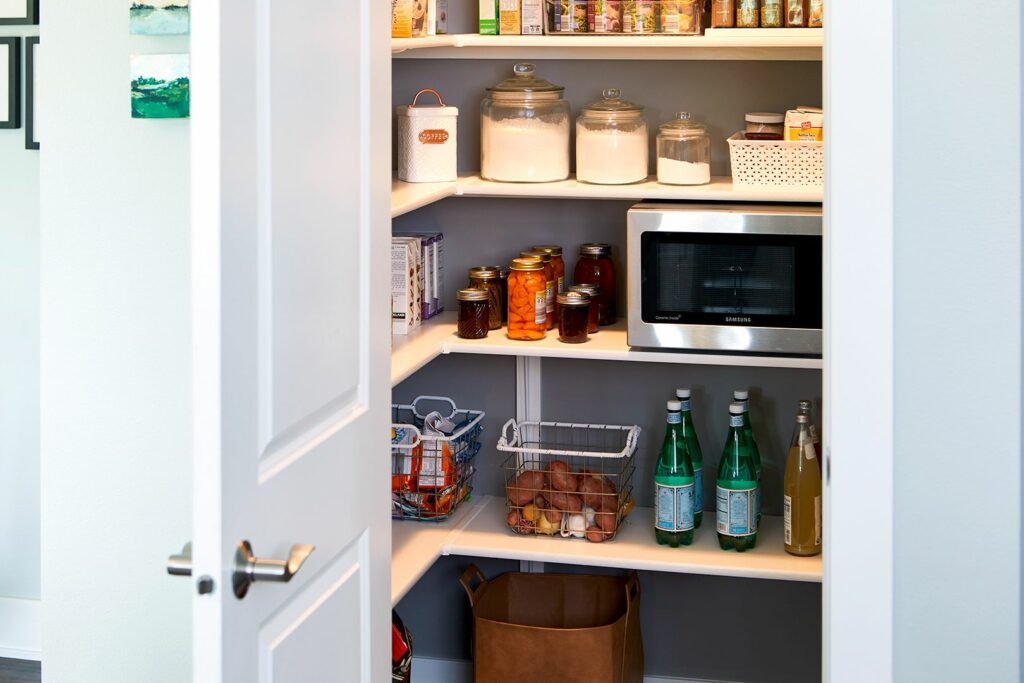
By making DIY pantry shelves at home, you can complete a budget-friendly home project in less time and solve your pantry cluttering problem. But along with pantry shelves, proper and dedicated storage must be used to keep the small space tidier.
Follow these hacks for an organized pantry shelf.
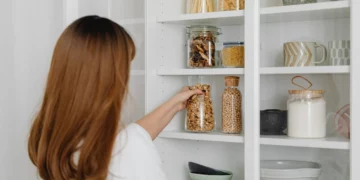
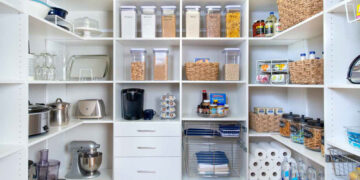
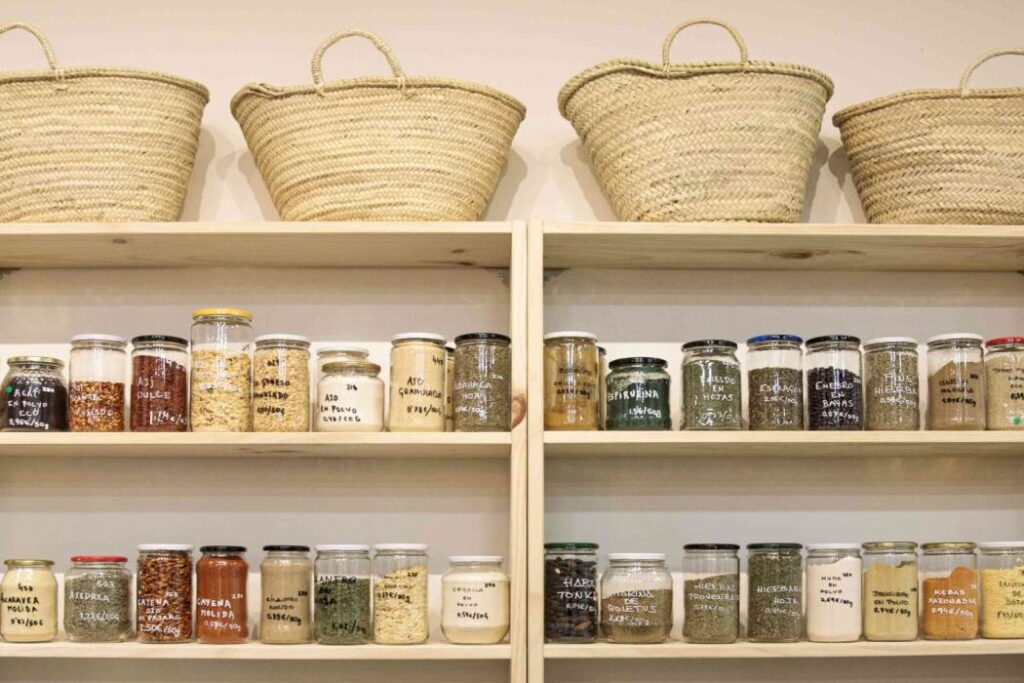
- Use large glass jars for storing cereals, pulses, etc., and label them for quicker access and for keeping track of them. You can use different shapes and sizes of glass jars for an aesthetic view.
- Add hooks on the smaller wall of the pantry to keep all your cleaning tools, mops, and aprons in place.
- Divide the food items like sauces, jams, and pickles and keep them in different cubbies. Label every item that is on the pantry shelf so you don’t keep hoarding stuff even after its expiry.
- You can include different types of baskets like white or black-wired, woven, etc., to store all the big stuff like detergents, paper napkins, disposable plates, etc. Moreover, different kinds of baskets will make the space look visually appealing.
- Use the vertical space of the pantry door, too, for storing things. This metallic frame can help store spice bottles and dry fruits, which makes it easier to access.
Conclusion
The DIY pantry shelves project can be easily undertaken at home by anyone to recreate the look of the existing pantry. Not only does the shelving help harbor all the kitchen stuff, but it also has immense practical uses. The advantage of taking the DIY pantry shelves as a home project is that you can install these wood planks according to the kitchen’ available shape and size.
Apart from this, these floating shelves are easy to clean and accessible for all. You can add lights and sign boards for an appealing look. You can get the advantage of extra workspace if your pantry is hidden inside one of the kitchen cabinets. It becomes the perfect place for a coffee machine, mugs, and a toaster. DIY pantry shelves can also be the perfect place to place vintage stuff like retro tins and jars.
Following the above DIY steps for installing pantry shelves will elevate the small space into a multi-purpose room.
