Looking to give your bathroom a new look? Doing that just got very easy. A simple DIY project to refinish a bathroom vanity will do wonders for your space. However, every time the conversation about the DIY revamping your space comes up, the tale has it, you will have to sand your spaces. Sanding generally means a load of dust, considerable time, and frustration.
However, thankfully, this How to Paint Bathroom Cabinets Without Sanding (7 Vital Steps) will help you with revamping your bathroom without all that fuss.
It is an easy project that you can take up without any doubts. Read further to know more.
What is Sanding? Can I Skip It?
Before deciding whether you can refinish the bathroom vanity without sanding, it is important to understand what it is and if you can omit it. Sandpaper is a cloth or paper with a coarse face that helps you smooth rough surfaces. It comes in different grit sizes, from 40-400, which determines the coarseness of the paper.
Sanding is an integral component in most painting projects. Whether you are applying a deck stain, repairing a chipped furniture piece, or painting a fresh one, if you sand it, it will feel smoother. Sanding also creates an adhesive area for your primer and paints to stick, making your final product look very refined.
However, there are times when you can skip the sanding step. If you are performing a few minor touch-ups, you can totally skip this step. Moreover, this isn’t the only time you can skip this. In fact, if your wood is raw and untreated, you can go ahead with painting it without any prior treatment. In case your wood has another color, and you want to paint it with a new one without actually sanding it, you can do it too. Just apply a well-adhering primer, and you will be good to go.
How to Paint Bathroom Cabinets without Sanding?
Now that we know that Sanding isn’t a compulsory step, it is time we look into how you can refinish your bathroom vanity without actually sanding it. This is an easy DIY project that you can finish on your own. Generally, it takes about 3-4 days to finish this project. Continue reading to find out how you can pull this off.
Equipment Needed
- Screwdriver
- Bucket
- Gloves (Rubber Gloves)
- Protective glasses
- Putty knife
- Drop cloth
- Paint brushes and rollers in different sizes
- Sponge
1. Things To Do Before You Start Painting the Cabinets
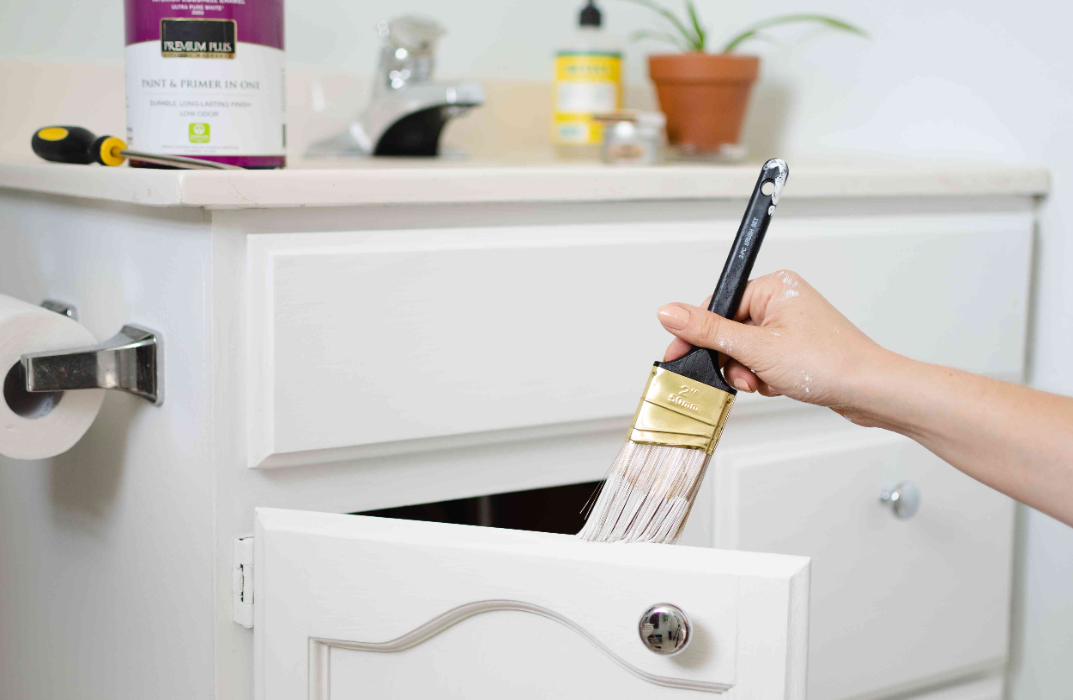
Before you start with this DIY project to refinish bathroom vanity, it is important that you know various things that will make this whole project a success. Understand that this particular project does not need a lot of physical strength or skills, but there are some technicalities that will help you get the best results. Some of the things are-
- It is advisable that you research well before deciding what primer or paint to use. There are a number of different types and brands of paints available in the market. Make sure you research it before deciding on one.
- There are also different kinds of brushes available. So, choose one depending on your need.
- Since Bathroom spaces are generally small spaces, the smell from paint, primer, and TSP can become bothersome very quickly. So, make sure your space is well-ventilated. Always run the exhaust fan and open windows before taking on this project.
- We recommend wearing protective goggles, covering your skin, and using a respirator.
- The last thing is to cover the floor of the bathroom with drop clothes. This will save your flooring from paint drops. Additionally, also remove all the items from inside the cabinets and shift them temporarily.
After doing all of this, you will be ready to start your DIY project. Here are the steps.
2. Prepare to Paint the Cabinets
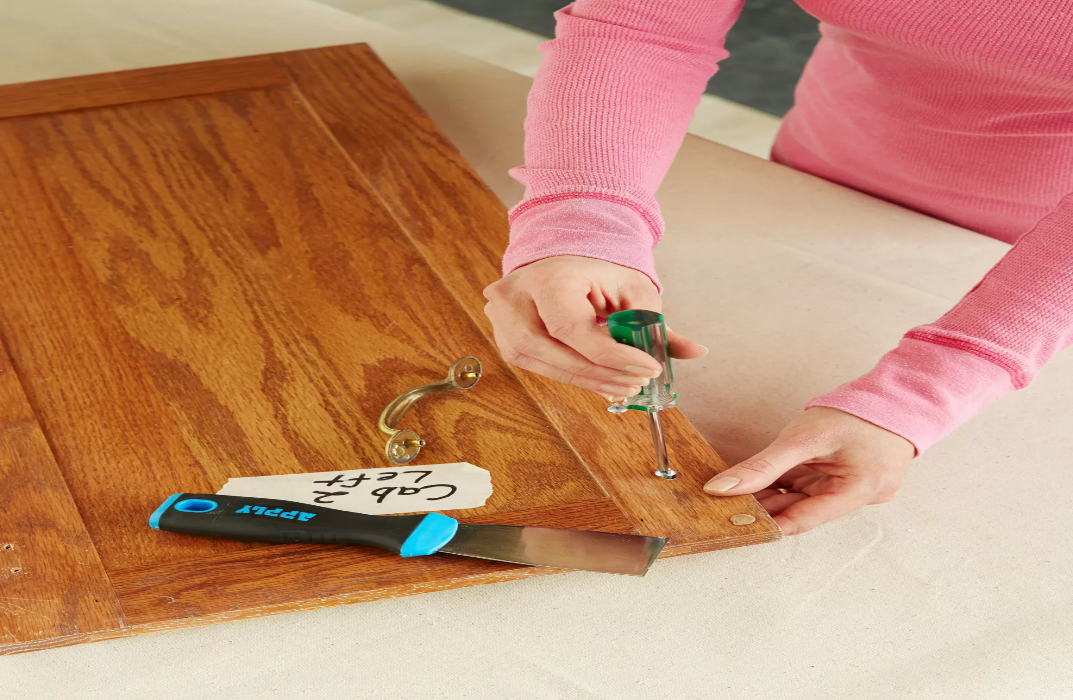
Now you can go ahead with prepping your cabinets. For this, you will have to remove all the doors, front drawers, hardware, and hinges from these cabinets. While you might want to let them be there, believe us, removing them will make your life so much easier than you thought. Otherwise, you will have to clean any paint you might get on the hardware.
To do this, simply use your screwdriver and remove all the hardware. Then, just clean the cabinets thoroughly to get rid of any dirt or dust. You can use some borax with lukewarm water to clean or a TSP cleaner to clean everything thoroughly. However, be very careful if you are using TSP because it can be toxic. You will also have to protect any cabinet surfaces that you do not want to paint. Use a painter’s tape or masking tape to do so. Cover the parts of the cabinet you don’t want any color on with pieces of tape, and it will keep it safe.
3. Fill in the Blanks
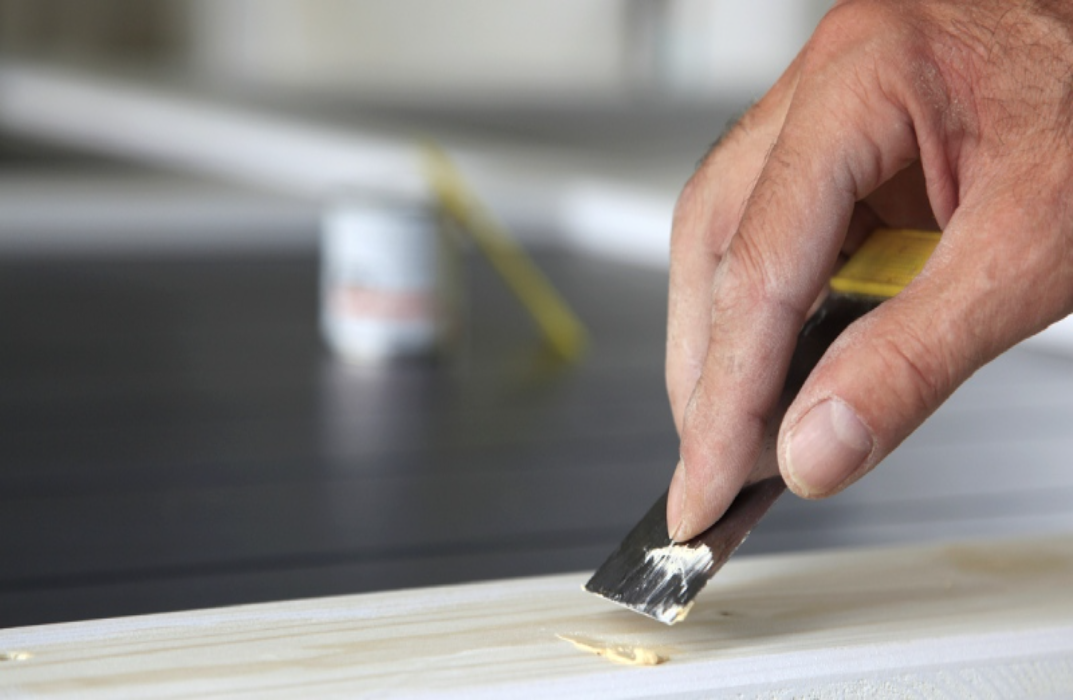
After you have cleaned the cabinets, it is important to fill in the dents, scratches, and gouges in the wood. If you are looking to install new hardware in your cabinet, it is also important to fill the old holes. Using a wood filler, give the wood a clean look. To do this, follow these steps-
- Using a finger or putty knife, apply the wood filler in places that have holes or scratches.
- Let it dry
- Clean any part of the holes and make it smooth.
Tip: It is always better to apply too much and level than not to put it enough.
4. Gloss and De-Gloss Your Cabinets
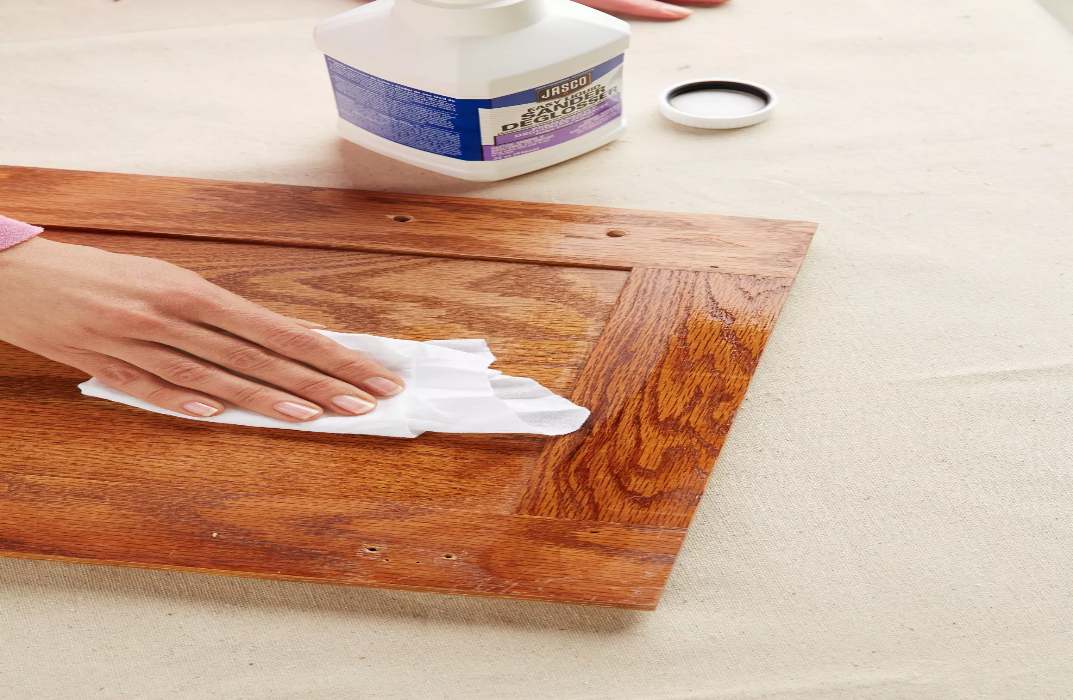
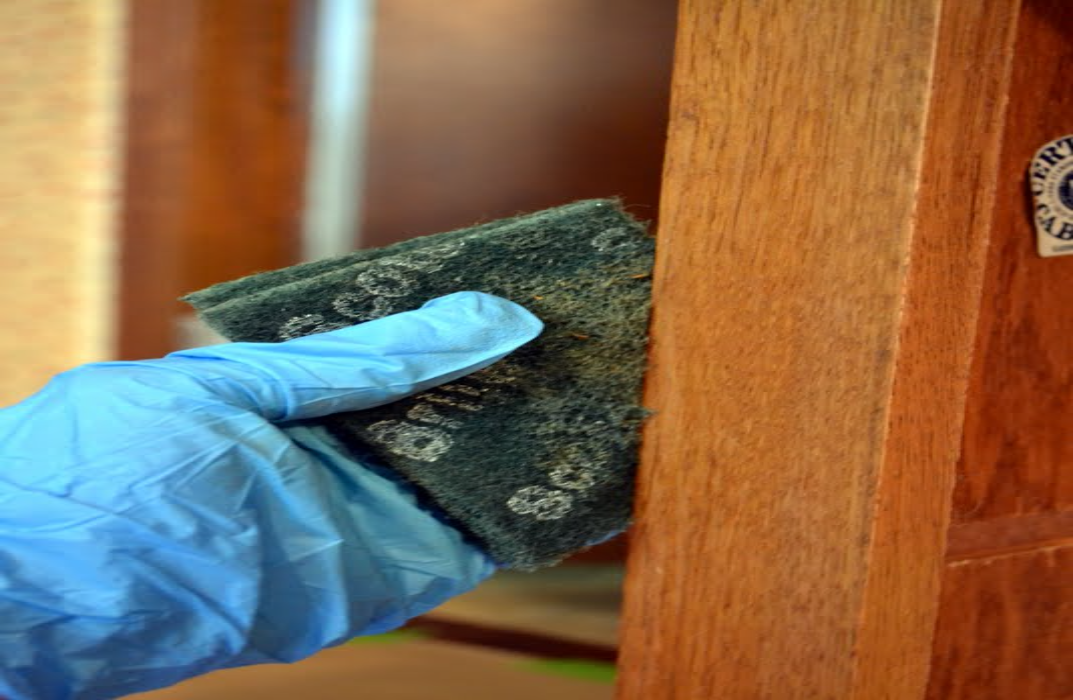
Once you have gotten rid of all the visible dirt, it is time to de-gloss the cabinets. Put your gloves on, and using scrubbing pads, thoroughly clean and de-gloss the surfaces. Post this, put some elbow grease into it, and this should make them smoother. This is one of the most important steps because it will help you paint easily and make your paint long-lasting.
5. Put on a Primer
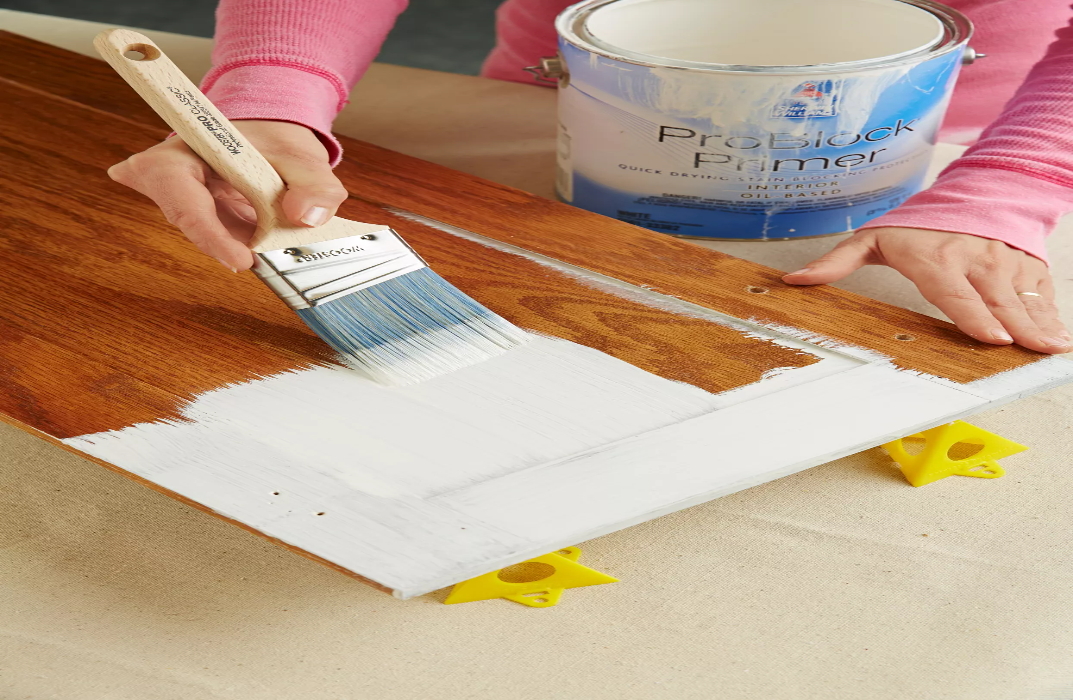
The next step is to put on a primer. A good paint primer will make all the difference when it comes to painting the cabinet. Use a paintbrush or a roller to put primer on all the faces of the cabinet, and make sure you are doing it in the same direction. If your cabinets have intricate detailing, you might have to use a tapered brush or a small brush that will cover all of these small details. For larger spaces, you can use the big brush. Now, it is time to let it dry.
Doubling up on the primer is a great idea too. Especially if you are painting some cabinets that have been painted previously, it is important to put two coats of primer. This will help you get rid of traces of any old paint and give you a clean slate to work with a new one. However, if you are trying to refinish a bathroom vanity that is new and has never been painted before, you can skip this second coat.
6. Paint All the Parts
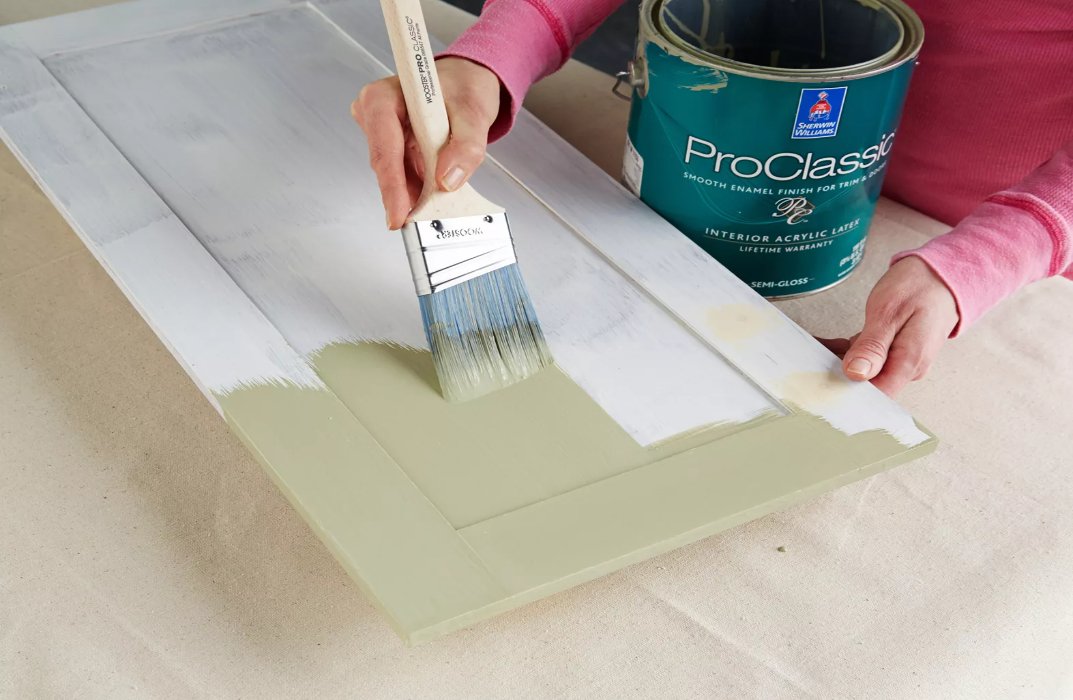
In the process of refinishing the bathroom vanity, this is the fun part. You now have to paint the cabinet and all parts of it that you want in the new color. Pour a small amount of color into a paint tray, and using the right equipment, apply a base coat to the cabinets. Paint the flat areas, nooks, and crannies, too, all in the direction of the wood grain. Cover every part, and your first coat will be done.
One coat of paint is generally not enough. To achieve the desired color, it is important that you add an additional coat of paint. Keep in mind that you let each coat dry well before you put any new coat of paint on the cabinets.
What Paints to Use? Tips and Tricks
- The best paint to refinish bathroom vanity is oil paint or mold and mildew-proof latex paint. They are oil resistant and give a great finish. However, mold and mildew-proof latex is good because it dries faster. It is always a good option to use gloss or semi-gloss finish paints because they repel moisture way better than any other kind of paint.
- When using oil-based paint, use natural fiber, polyester blend, or a wool roller cover. For smaller pieces, use a natural bristle brush. However, if using latex paint, use a synthetic roller cover. You can also use a synthetic-bristle paint brush for latex-based paint.
- Paint stores generally recommend you to use paint within 24 hours because it is mixed to ensure even coverage when brought. However, we would suggest you give it a good stir before you use it.
- Always paint a little part first and try the color before putting it everywhere on the cabinets.
- Whenever you plan to refinish a bathroom vanity, start with the doors because they take longer to paint, and you will have to give them time to dry before you turn them to do the other side.
- It would be better if you use light coats. Painting in thinner coats would mean fewer drips for a high-quality paint job.
7. Reinstall the Cabinet Doors and Front Parts
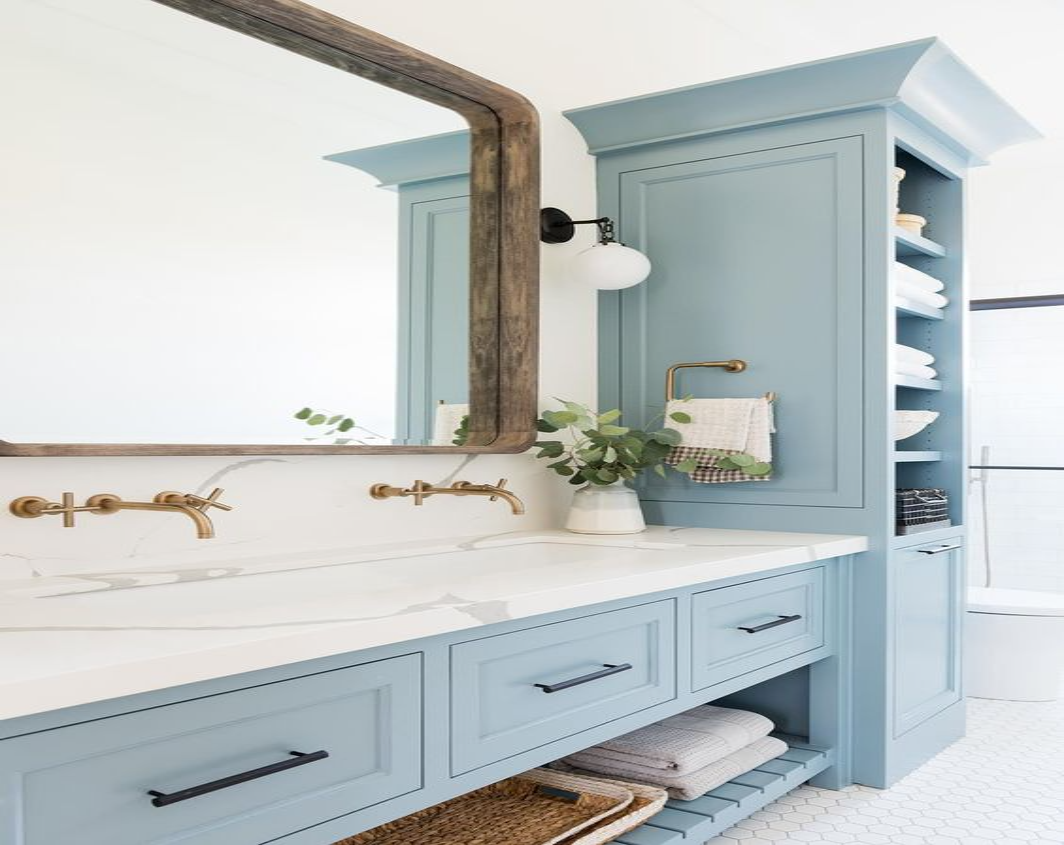
After you are done painting, and everything is dry, it is important to put everything back in place. Two-three days post the painting and drying process; you can reinstall the doors and part of the cabinets that you had taken out. However, be very careful when putting your refined bathroom vanity in place. If you plan on putting in new hardware, drill the new holes and install the hinges and accessories.
Paint Inspirations that You Can Use to Give Your Bathroom a New Look
If you are looking to refinish a bathroom vanity and looking for color inspirations on what you can do, these are the colors that are very in trend this year. Check them out-
- Light Blue: Most people start and end their day in the bathroom, and if you are one, you deserve to feel relaxed and luxurious. A light blue color will give you a sense of calm and serenity in your bathroom, and it is very popular this year.
- Light Green: Light green is also another popular bathroom color because it is soothing, refreshing, and inspired by nature. That way, you will be able to feel the tranquility and an outdoor connection right in your bathroom.
- Soft Gray: Soft Gray is a great classic color that ensures that it lets other pieces of your bathroom become the hero. Cabinets colored in this hue will be cool and go with any wall color you want.
- Taupe: Again, a very neutral and classic color, Taupe is a color that goes with most walls. So, you can color your cabinets in this hue without worrying too much.
- Charcoal: The last color on our list is charcoal. It is a dark gray that offers perfect coolness to your bathroom.
Conclusion
With a few hours of hard work for a few days, your bathroom will be good to go. This DIY project is easy to implement, and you will fall in love with your bathroom cabinets all over again. After you refinish the bathroom vanity, it will breathe life into your old bathroom and make it exactly like you want.
As mentioned in this article, it is clear that you don’t have to worry about sanding your cabinets, and you can move ahead with your DIY project without any issues.
So, Get your paint buckets out, arm yourself with the paintbrush, and you are ready to give your bathroom a new makeover altogether.
Frequently Asked Questions
Does it Matter What Primer I Use?
Yes, it is important to figure out what primer you use and to choose the right one, you must speak with your sales associate at your local paint store. Primer helps your paint stay longer on your wood. Hence, it is necessary to use a good one.
Can I Spray Paint My Bathroom Cabinets?
Spraying the paint with a paint sprayer is a good idea. It will give you a flawless finish, even better than hand painting. However, you will have to keep in mind, spray paints are good for big projects, and in small projects like refinishing bathroom vanity, hand roller, and brushes are good.


