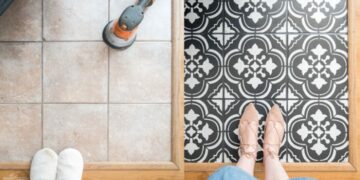
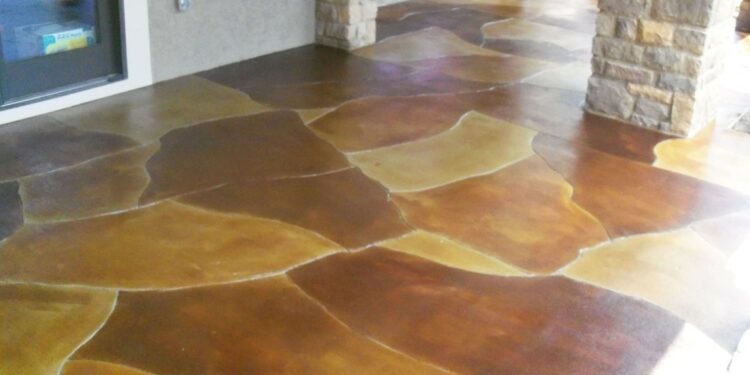
Acid staining of concrete floors is an easy opportunity to make your dull floors look stunning by taking out the drab appearance by applying acid stains on the concrete in the right manner.
The color changes on the concrete floor are triggered by a chemical process when the acid stain enters into a chemical reaction with the hydrated lime inside the concrete. These changes manifest as unique, translucent patterns and designs that excite the onlookers.
Acid staining on concrete floors is preferred as a cost-saving option because it is a DIY project. The end product, under ideal conditions, will look superb, with the unique design giving a brand-new look to the floor.
The DIY (do-it-yourself) option of acid staining seeks durable, affordable, and high-impact concrete floors while working with Muriatic acid available in a variety of colors. It penetrates concrete and works with the lime deposits to render unique, mottled, and swirly finishes on surfaces.
Now let us skim through the various steps in acid-staining concrete floors.
1. Prepare the Surface
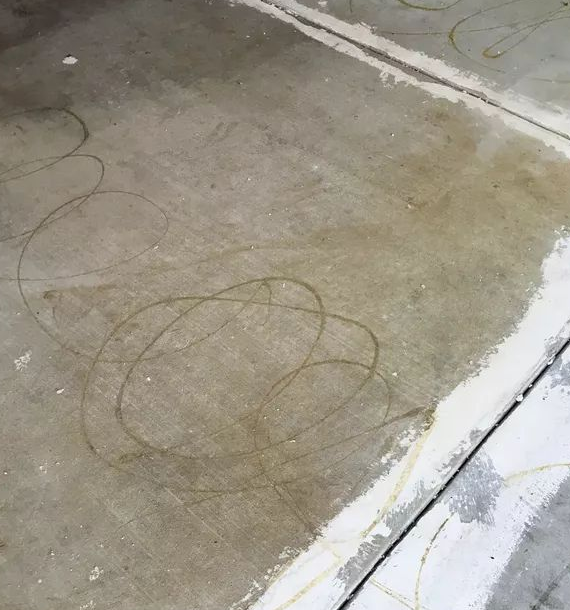
In preparing the surface, make sure there are no cracks, chips, or stains as impurities that will show up starkly after the acid stain treatment. Being semi-transparent, paint drips can manifest easily.
In cases where concrete floors are faced with impurities such as mud, drywall, wood stains, paint, tile adhesives, grease, carpet adhesives, and pet stains, do prepare the concrete surface to achieve ideal results.
If impurities are allowed to persist, they will distract the look of the floor. One example is spots of carpet glue appearing as swirly, unpredictable patterns showing up through the stain. So, removing impurities must be a priority.
The solutions include grinding, using concrete crack fillers to fill up divots, applying acid cleaners, filling and leveling tension breaks, sanding, and scraping, among others. At the same time, there is no need to strive for the ultimate perfection of the surface to perform DIY acid staining on concrete floors.
2. Clean up the Concrete
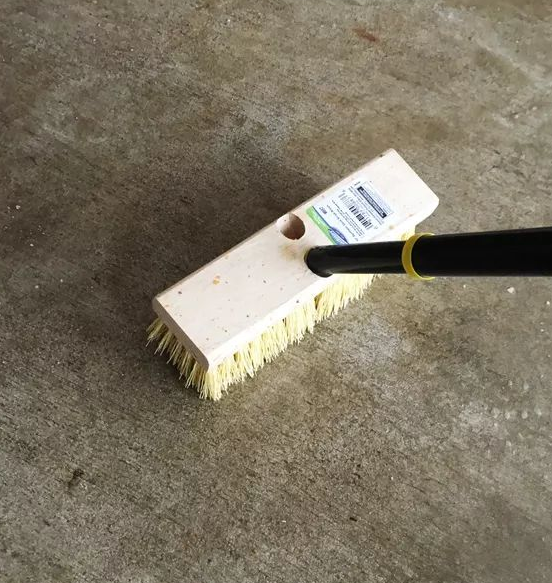
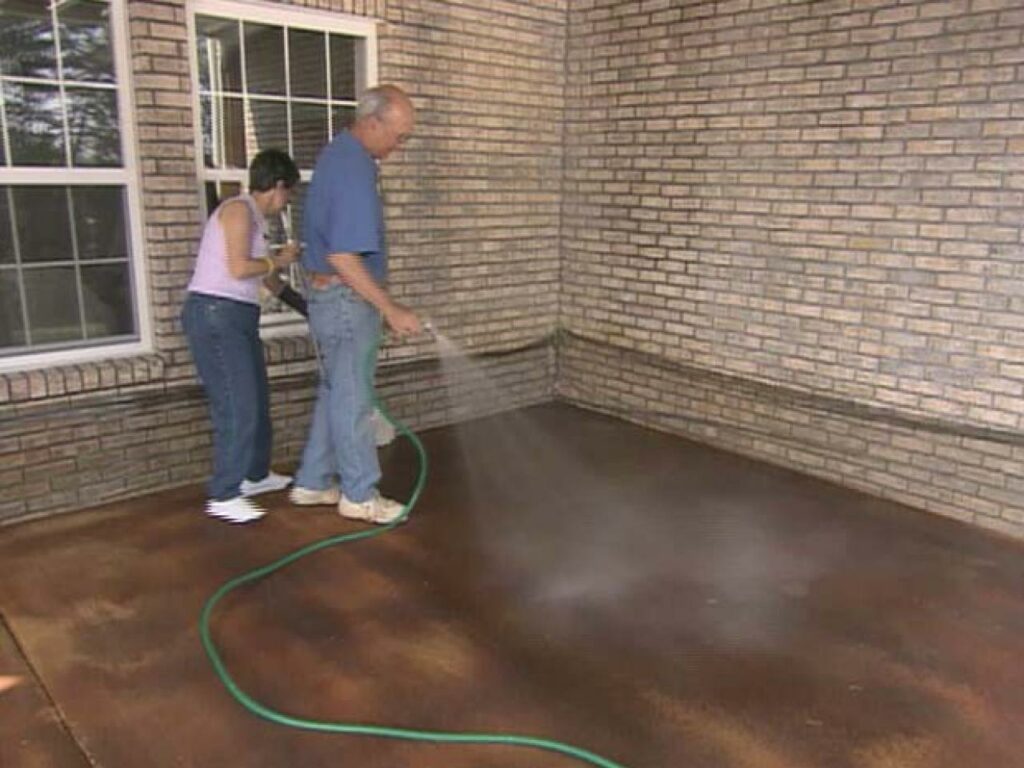
Make sure the concrete surface looks pristine and clean. This is not to suggest that you use a pressure washer. Just spray water with a plastic pump and use a push broom to scrub, repeatedly rinse with water, and let it dry. Use a Shop Vac to vacuum up the water to hasten it to dry. You can also use a mild soapy detergent in this step.
Regarding cleaning products, Etch & Clean is a good choice but apply with due care, including protective gloves. Mix a portion of the Etch & Clean with four parts of water in the pump sprayer and apply to the floor.
After it dries up, scrub it over with a synthetic broom and rinse the surface with clean water and vacuum up to push out maximum residues.
3. Apply the Acid Stain
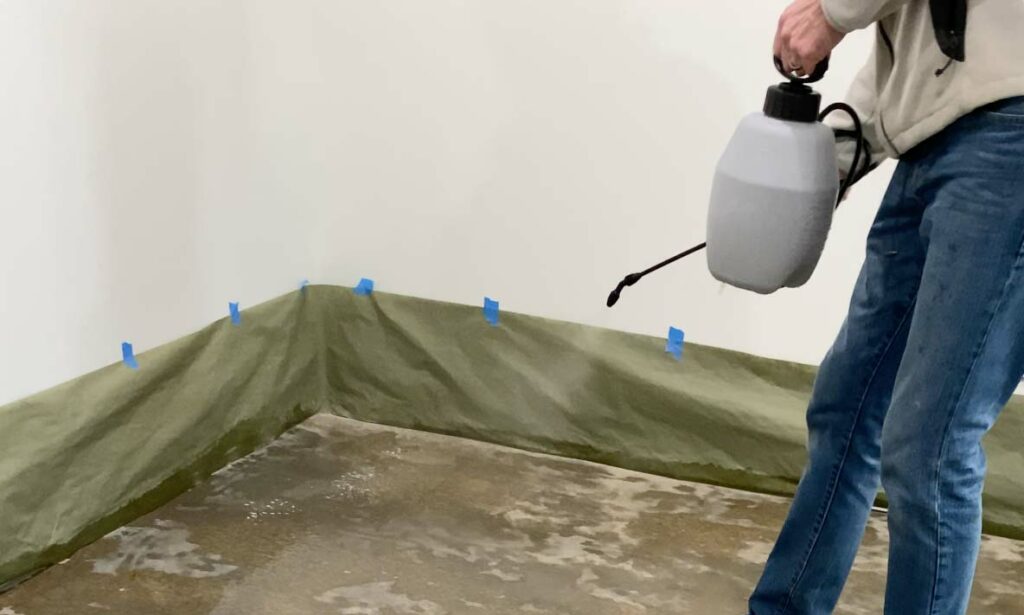
When preparing for staining, mask off surfaces and walls to avoid spills of acid stains. Do this with masking paper available in home improvement stores. While adding the acid stain to the clean pump sprayer, use protective eyewear, masks, and gloves.
If you are doing the whole thing solo, start with a small area, say 3 feet by 3 feet, go over, brush it and re-spray to cover brush marks, and make different patterns across the concrete floors.
4. Try for the Desired Color
It takes time to deepen acid stains on concrete floors, maybe 10 hours. As the hours pass by, the color keeps modifying. You have to endure the waiting time to get the right look. For a darker surface, allow the acid to sit overnight, and if required, do another coat.
The additional coat and waiting period of 24 hours will yield the dark finish you were looking for.
5. Remove Stains with Neutralizer
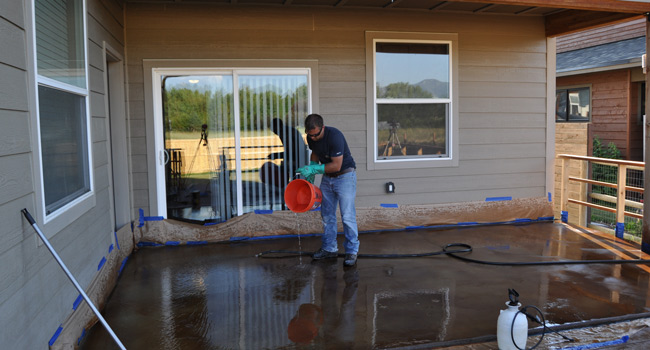
Once satisfied with the floor color, it is time to neutralize the surface to stop the staining process. For this, ready-made products as well as a mixture of liquid ammonia and water, can work. The methodology is pouring a neutralizer onto the surface and scrubbing it with a mop. If you are using brooms, try using synthetic brooms than yarn mops to save the floor from messy debris.
For cleaning up a larger area, spray the floor with clean water. Then direct the water puddles to a specific area, like the middle of the floor. Use a Shop Vac to remove the puddles. Do this a number of times until the water is free from the stain’s color.
6. Apply Sealers
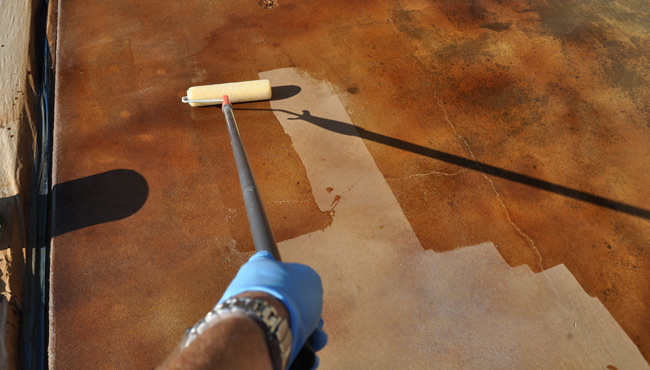
After applying the sealer and polish, the dried-up concrete floor will emit a lighter look, unlike in the past. At this point, take out the masking paper on the walls. For placing sealer, use a 3/8″ nap roller on an extended arm. Apply the sealer in thin layers and multiple layers. Depending on the staining product used, multiple coats of the sealer can be thought about.
The sealer can be your choice –Paver Sealer, Quick Sealer, or whatever. The important thing is you must allow the sealer to dry up for a whole night.
7. Apply the Best Polish
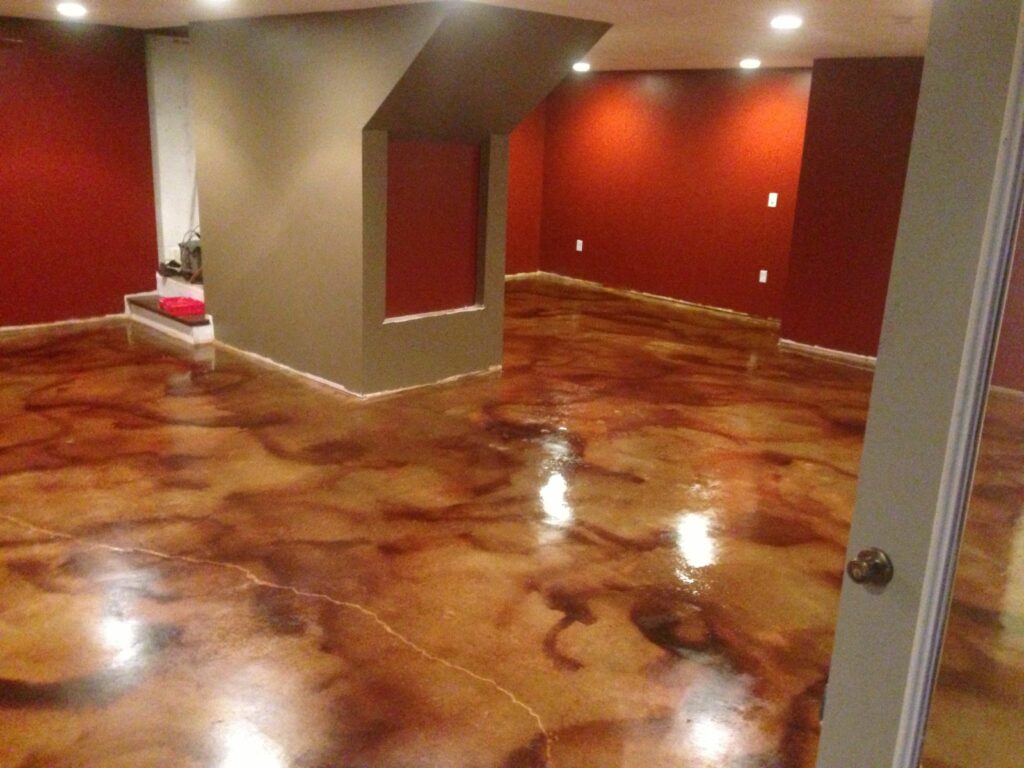
Polish is applied as a protective layer for the hard staining work already done. Choose a gloss coating that will have a nice wet look or something matte. Polish options are vast. Creating a thin layer of a faster process helps. Pour the polish onto the concrete in a small puddle and disperse the pool with a mop or roller, pushing forward and backward, making a thin layer.
No panic if you get a slightly milky surface when you finish, as it will go away in an hour or two. Let it dry for one or two hours, and apply more coats if you want. You can plan one gallon of polish to coat 325-square-foot four times comfortably.
The Charm of the Mottled Finish on the Acid-Stain Floor
Acid staining gives a really mottled or irregular pattern finish, inconsistently coloring the floor as a unique appeal. Acid-stained concrete floors look attractive in commercial spaces like restaurants and retail locations, in addition to their eye-catching appeal in homes.
Concrete floors show tremendous strength because it hardly endures any scratch or dent. Whether it is a kitchen, living area, or bathroom, the acid stains method on the concrete floor has proved its worth as one of the best flooring options.
You can choose the stains according to your style preferences. There are acid-based stains and water-based stains available in various colors, such as brown, blue, gray, and black. The chemical reaction using an acid stain gets you a concrete, variegated, colored finish.
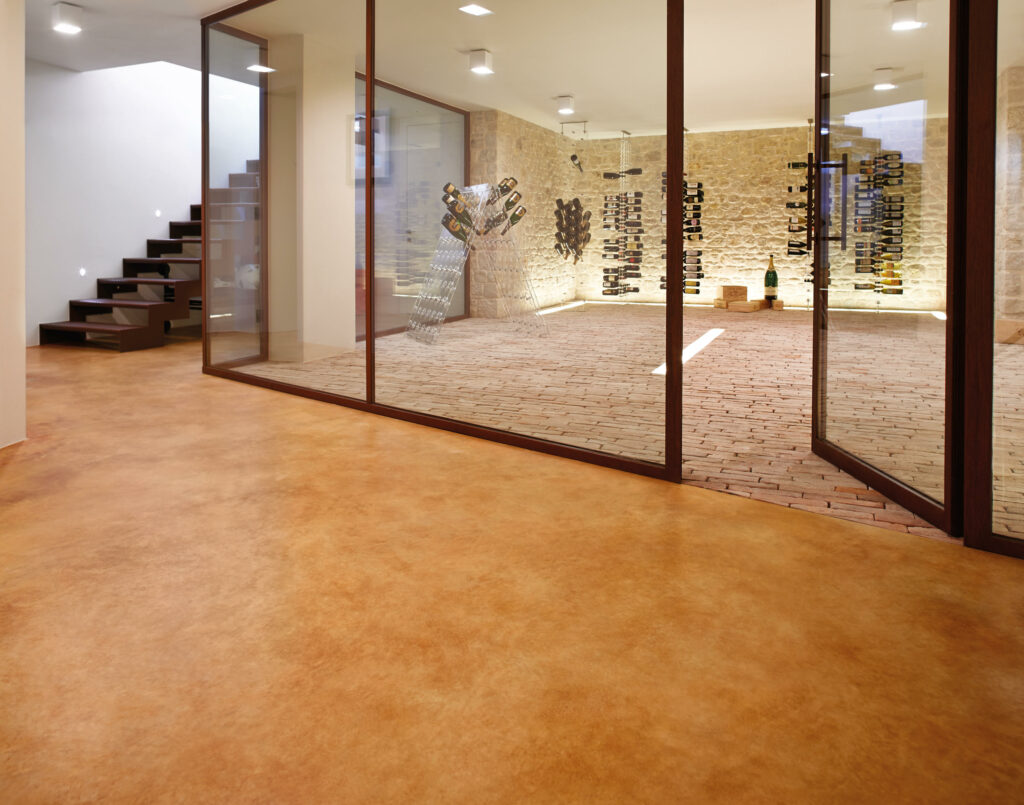
The effects created by the stain are amazing and look similar to the nuances of costly natural stone rich IN natural beauty. You can decide on the customizable finish in terms of standard colors such as terracotta, turquoise, ebony, fern green, Amber, jade, or brown.
Benefits of Acid Stain Concrete Floors
Acid staining on concrete floors transforms the surface, acquiring a luxurious richness. The stain goes through the pores of the concrete and creates translucent tones adding extra depth and dimension to surfaces in residential or commercial settings and in other interior surfaces.
When applied to concrete floors, acid staining provides a long-term, low-maintenance solution for making fantastic surfaces. However, the quality of the end results will depend more on the quality of the concrete.
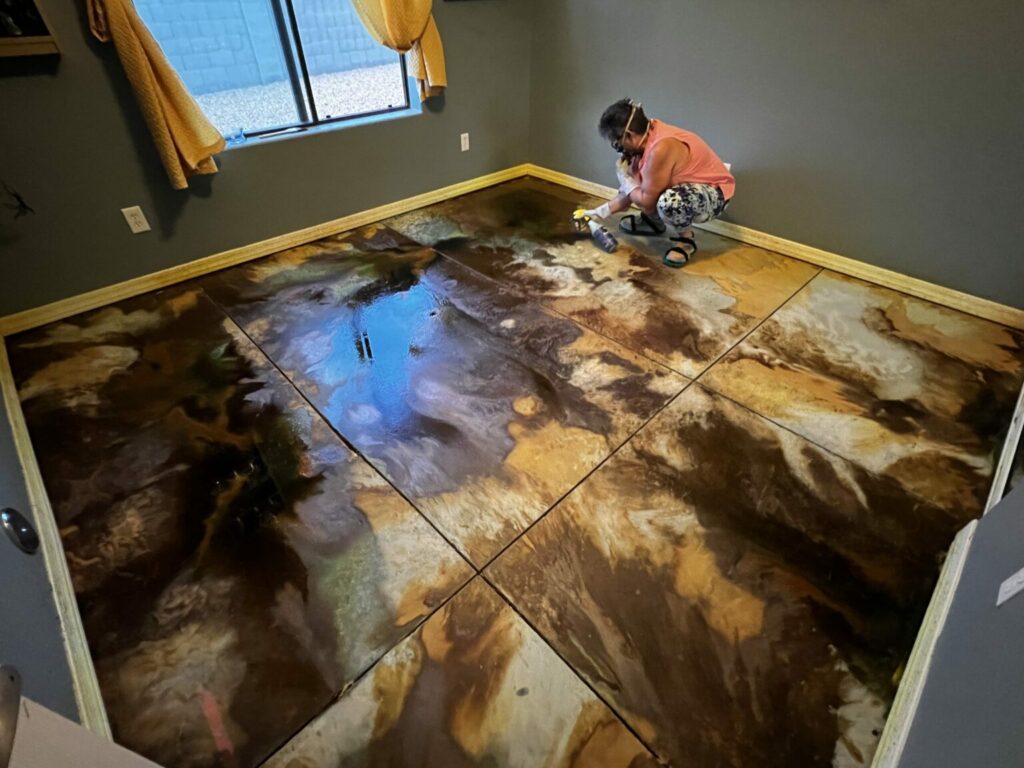
On the aesthetic level, the visual effects of acid stains are marvelous. You get swirls, waves, and marbling with minimum effort to create great results. There is also the option to stencil certain designs onto the floor, although it will be a semi-permanent result with some value of the property.
The benefits of acid stain floors include easy maintenance as the dye becomes an integral part of the concrete, and the finish will not fade and stay impervious to spoil, peel or crack. Acid stain also works well on stairs, walls, and vertical surfaces.
The acid staining may be taken as an investment too. The enhanced aesthetic value of your floor with different tones certainly appreciates the property’s value. In the short term too, acid staining saves a homeowner from the hassles and costs involved in installing new floorings or buying oversized rugs to cover up the space.
It is simple and elegant with its majestic transformation by adding various designs in no time.
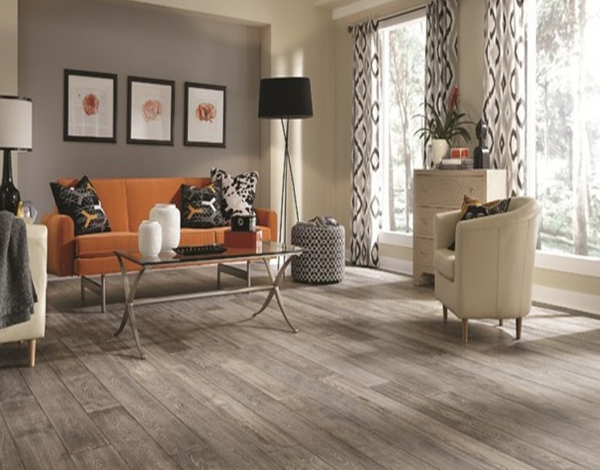
Acid-stain concrete floors are affordable options compared to carpet, marble, tile, and other commonplace choices. The most significant advantage of acid stain is the flexibility to do DIY, unlike hardwood, tile, and carpet. You can also do away with the costs of professional installers.
Conclusion
It is amazing that even after half a century, the appeal of acid-stained flooring is intact. It has the potential to survive competition from trending flooring ideas such as metallic, epoxy flooring, and 3D solutions.
The magic of obtaining topical colors on a neglected concrete slab using household tools is surely magical and exciting. If you pay maximum care during the curing process, the floors will achieve beautiful tones and colors from the acid-staining action on concrete floors.
The above discussion must be handy for you to try out the acid staining option on your concrete floors. You may use various methods and tips for DIY applications.
So, go ahead and enjoy its benefits and inspire friends and visitors who will revel in your magical floor upgrade.


