Considering finally starting that kitchen remodeling project you have been waiting for? Kitchen transformations are often associated with heavy investment requirements.
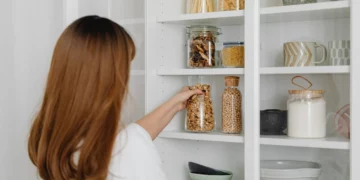
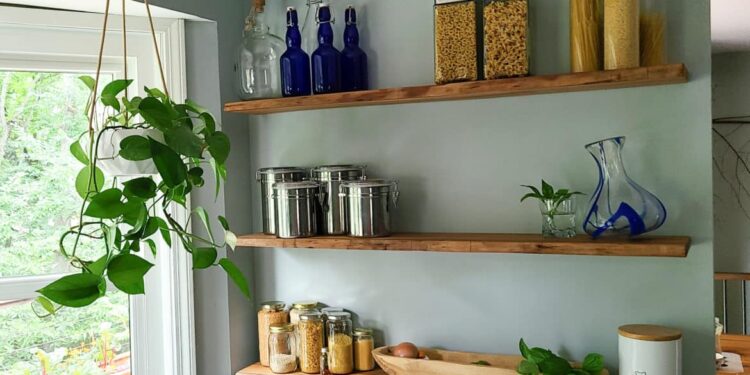
When it comes to the kitchen, sorting out your storage well is important. Floating shelves are an aesthetically appealing and smart way of having your storage without spending a whole lot.
Simple DIY floating shelves can go a long way in improving the look and functionality of your space. You can read through this article to learn simple, beginner-friendly ways of creating your very own floating shelves within a budget.
Here, you can get a quick and complete rundown of the tools required, how to use them, and how to create the shelves and the assembly. Now, having your chic kitchen shelf where you can store all your boxes and containers is easy.
Let’s get right into it.
Types of DIY floating Shelves
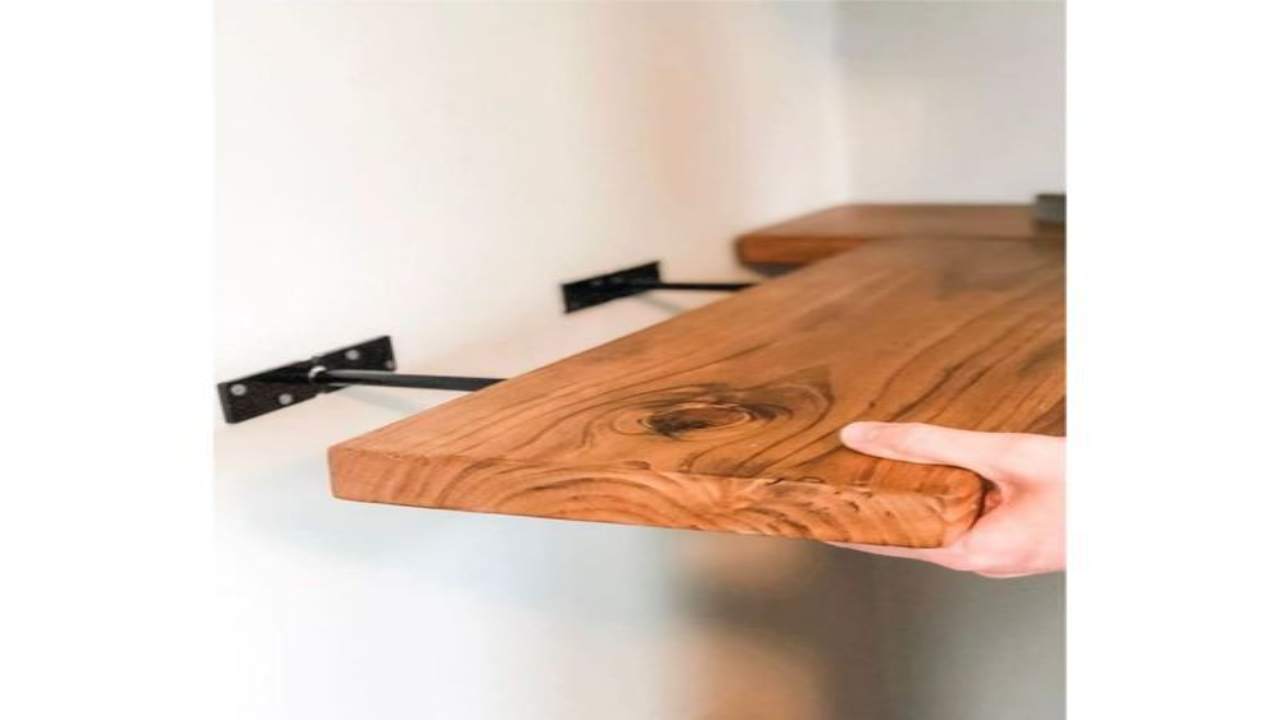
Before you start, it’s important to acquaint yourself with the types of floating shelves commonly observed. This includes
- Corner Floating Shelf: A corner floating shelf is an ergonomic space-saving design that adds value to your space. Use it to make the best use of space that generally becomes obsolete because of its position. With better space-saving and utilization hacks becoming popular, corner floating shelves open up new opportunities. These are usually at a 90-degree angle, horizontally placed. Because of its placement, usually, you can add these shelves without breaking down any other item in your kitchen.
- Plain Floating Shelf: These horizontal shelves can simply be added into any space. Be it your kitchen, living room, or bedroom. It can be a great addition to your space, especially if you want to add more space for your showpieces, sound system, or just added storage. These shelves are easy to install, even for beginners.
Tools Required for Creating Your DIY Floating Shelves
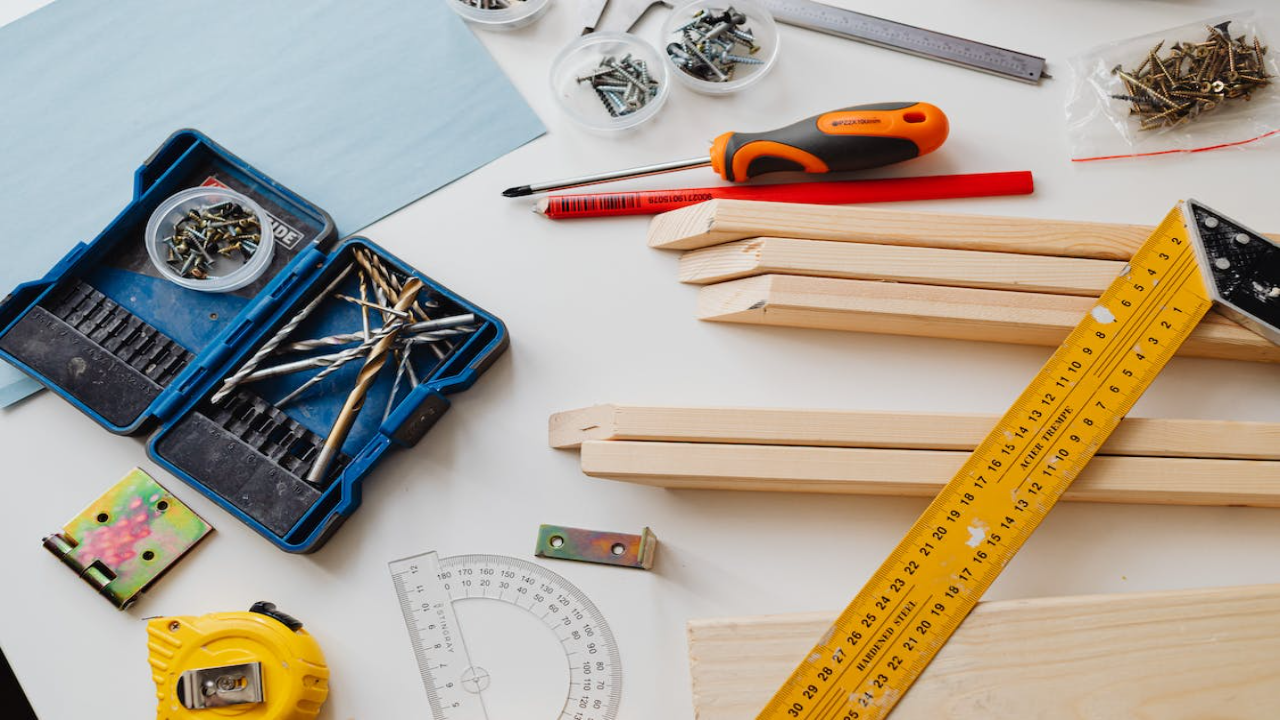
If you already have a tool kit at home, just cross-check all the tools that might be of use to you from the list. Alternatively, these can easily be sourced from local hardware stores. These tools are basic and, therefore, worth the investment if you plan on doing more DIY projects. Tools needed for creating your own DIY floating shelves include:
- 18 Gauge Pneumatic Nailer – For quick and easy nailing. These are safe and sturdy.
- Hand Tools – For general repair and carpentry of the shelves
- Drill and Driver – For making holes into the panel and walls
- Miter Saw – Perfect for making 90-degree crosscuts.
- Table Saw – For making neat and clean cuts to the wood boards as per the required dimensions.
- Featherboards – Stabilise the wood during cutting and ensures you get stable cuts on the wood.
Raw Materials for DIY Floating Shelves
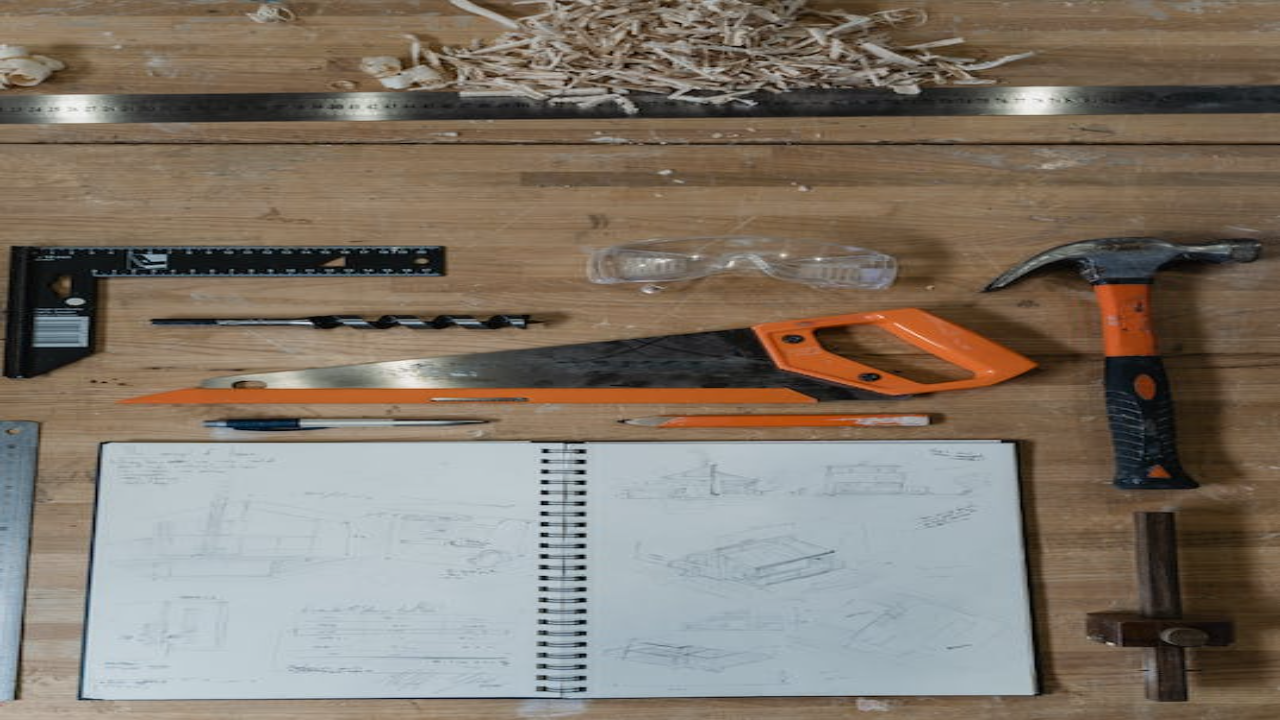
- 1-¼ 16 inch brad nails
- ¾” X 4 X 8′ wood (plywood)
- 4′ Brackets
- 8′ Brackets
- Water based polyurethane
- Pressure sensitive veneer
- Wood glue
- Sandpaper
Steps in Building DIY Floating Shelves
Ensure you have all your raw materials and tools handy before getting started. Beginners are advised to read the instructions for the tools and be mindful of all the safety measures that need to be followed. Safety gear such as goggles and gloves must be used.
Let’s dive right into it.
1. Figure Out Your Placement
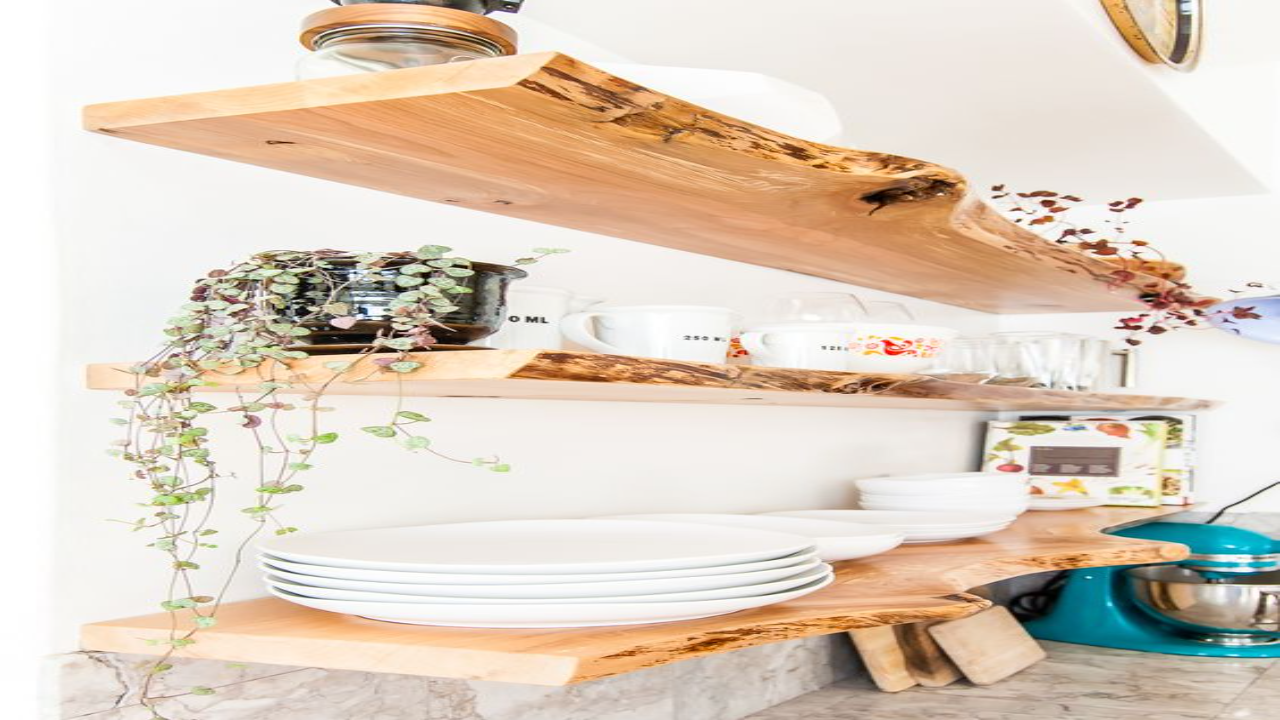
Where you place the shelf is a decision that needs to be firm and final before you begin your task. This means checking to ensure that the dimensions you want to design these DIY floating shelves with meet the space you intend to place them in.
2. Cut to Precision
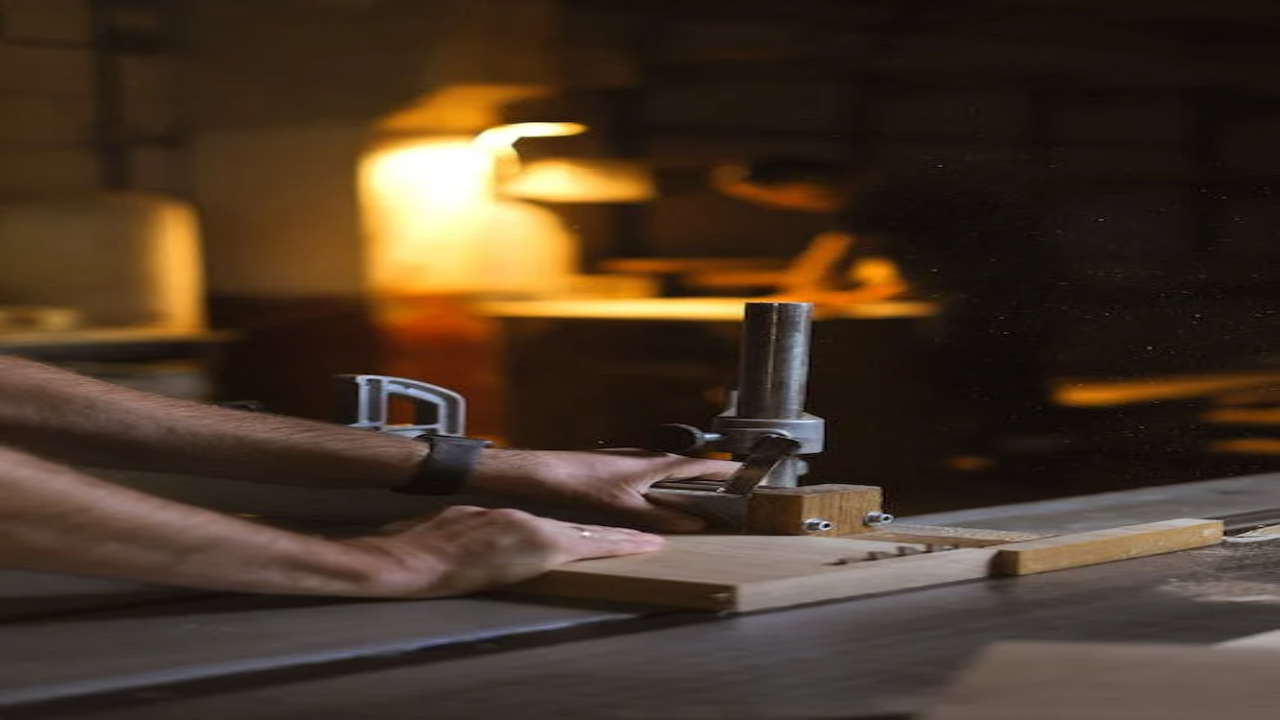
The first step is to take stock of the length of wood you have. The aim is to cut these into the desired dimensions as the first step in this process. Let’s assume you want a shelf that is 26 inches; ensure you measure this well and use the saw to cut it into the desired length. If you are a beginner, you can also use pre-cut wood or get them cut from the store itself.
This makes the task a bit easier. This step is important, therefore, must be done correctly in terms of the dimensions. It is advisable that you cut them slightly longer than the final dimension so that it gives you room to plan and execute.
3. Assembly
Once you have cut the top part and bottom parts of the platform you are creating, check for filers too. Use 1-1⁄4 inch spacers into the edge of the shelves and put them in place using tacks. Glue it beforehand, and wipe off access once it is secured in place. You can then trim it all and make it uniform. Trim the ends to ensure you have an easy alignment for the steps to come.
After this, it’s time to bring in the final layer of your shelf. The topmost layer again must be placed and aligned in line with the rest of the shelves. Trim off the ends as required so that it is aligned well.
Once all of this is sturdy and secure, and well aligned, you can use the miter saw and cut your wood into the desired shelf length you have wanted all along. At this step, you can choose any holes that may be present and fill them out.
4. Prep for The Brackets
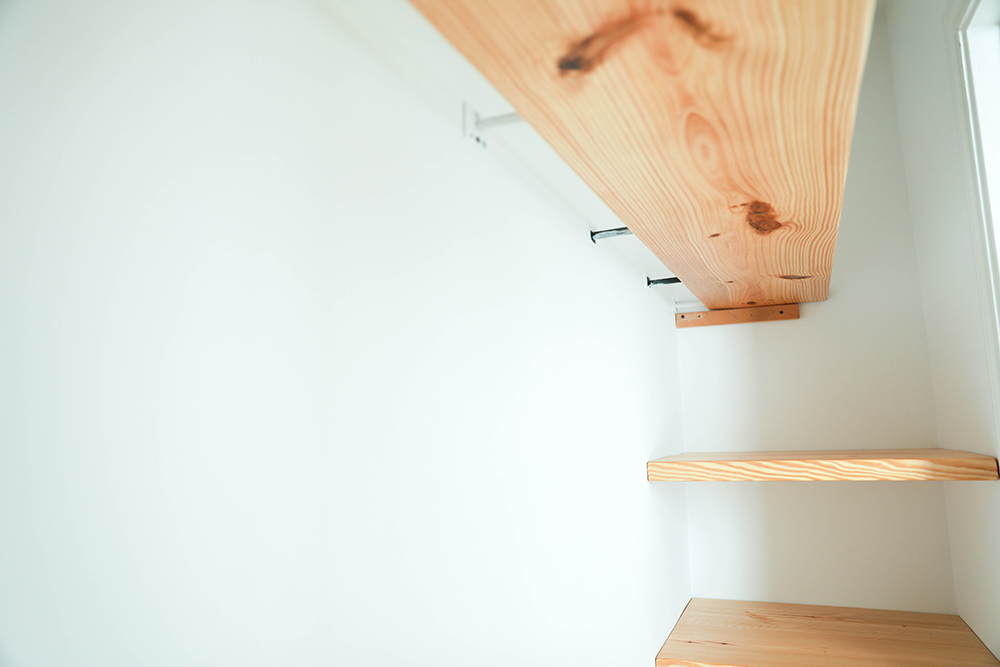
Now that you have created the shelf and the groove to fit in the bracket, check to see if the bracket apparatus fits in well. This is tricky; therefore, make adjustments and ensure you have checked bracket measurements beforehand. This is where the excess wood you left initially comes into play.
Make sure the grooves are properly aligned with the wood. This step is important as brackets will help bear the weight, and hence a well-done job will be sturdy and durable in the long run.
Once you measure it all, remove the bracket apparatus and trim off the excess.
5. Smooth and Shiny
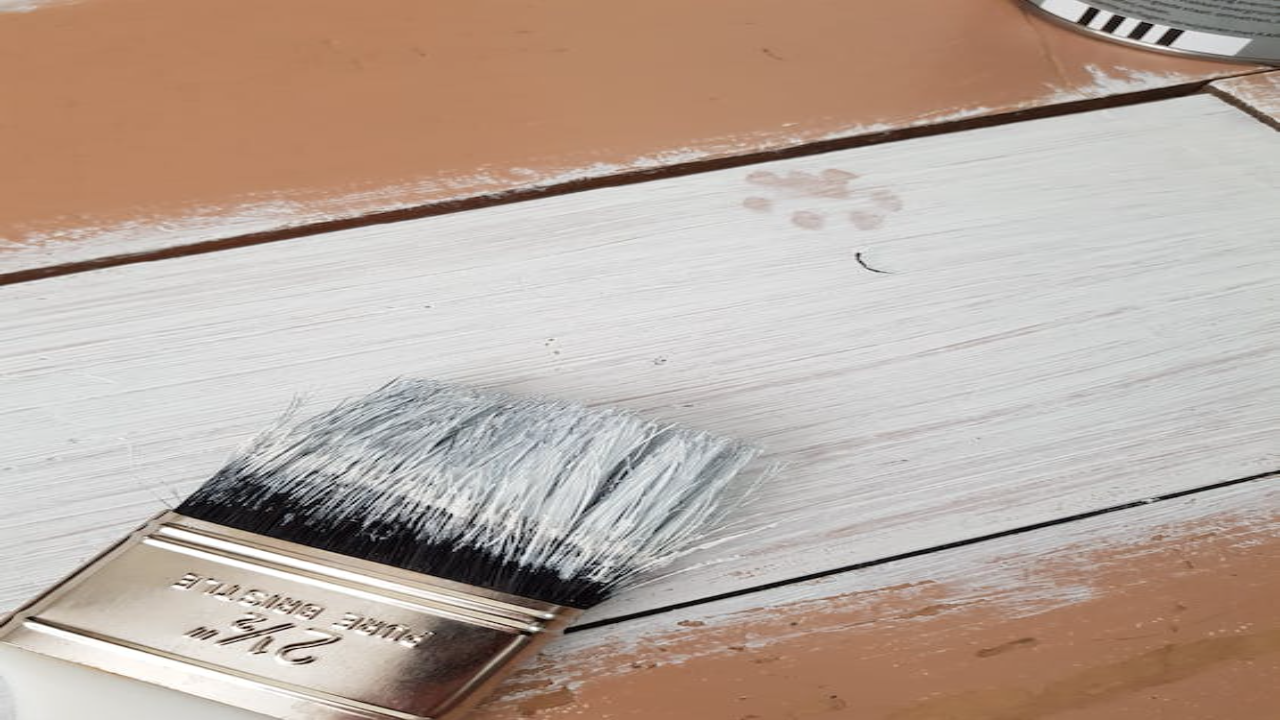
It’s time to make the end product look good now that the hard work is all. The first step is to clean up all the wood and sawdust that has been generated. After cleaning it all up, you can ready up the wood to apply a veneer coat. In addition pressure sensitive adhesive can also be applied.
Once all the layers have been applied, you can use J-rollers to secure all the layers of the wood firmly.
6. Trim The Excess
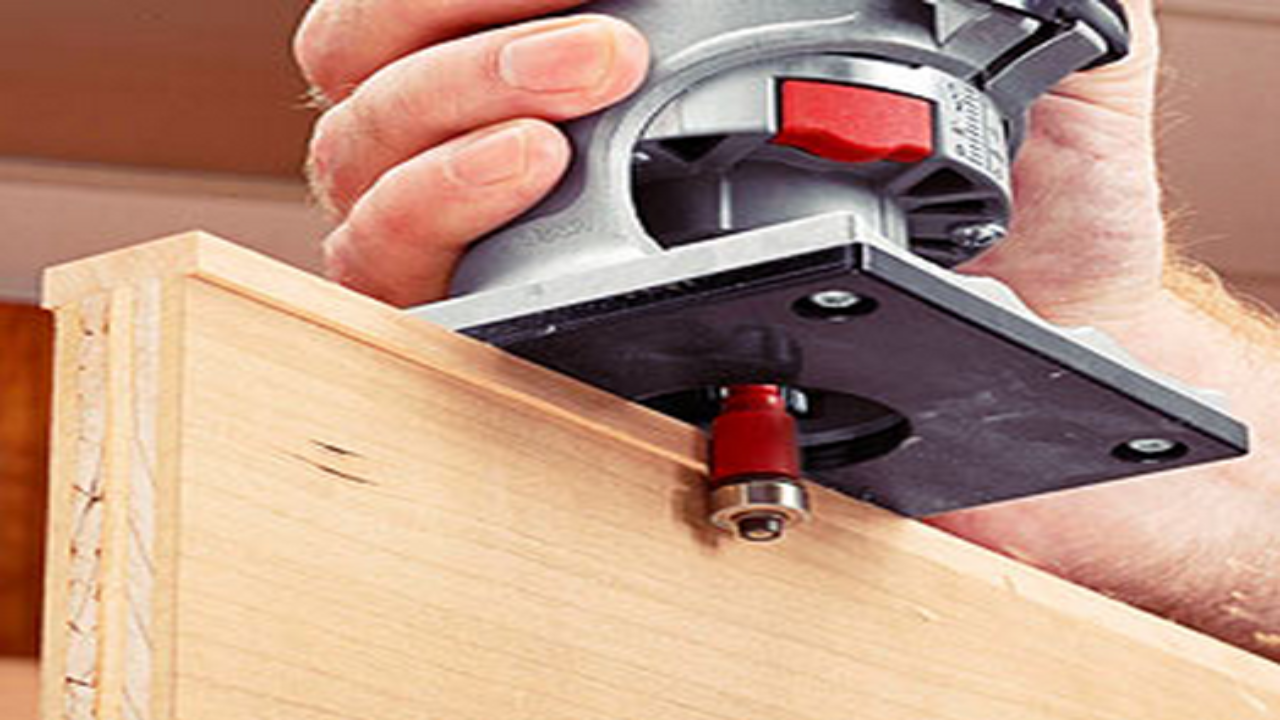
Once all these steps are done, it’s time to remove any access wood or materials that may be there. You can use basic tools and knives to cut off the slight excess that may have remained.
7. Bracket Installation
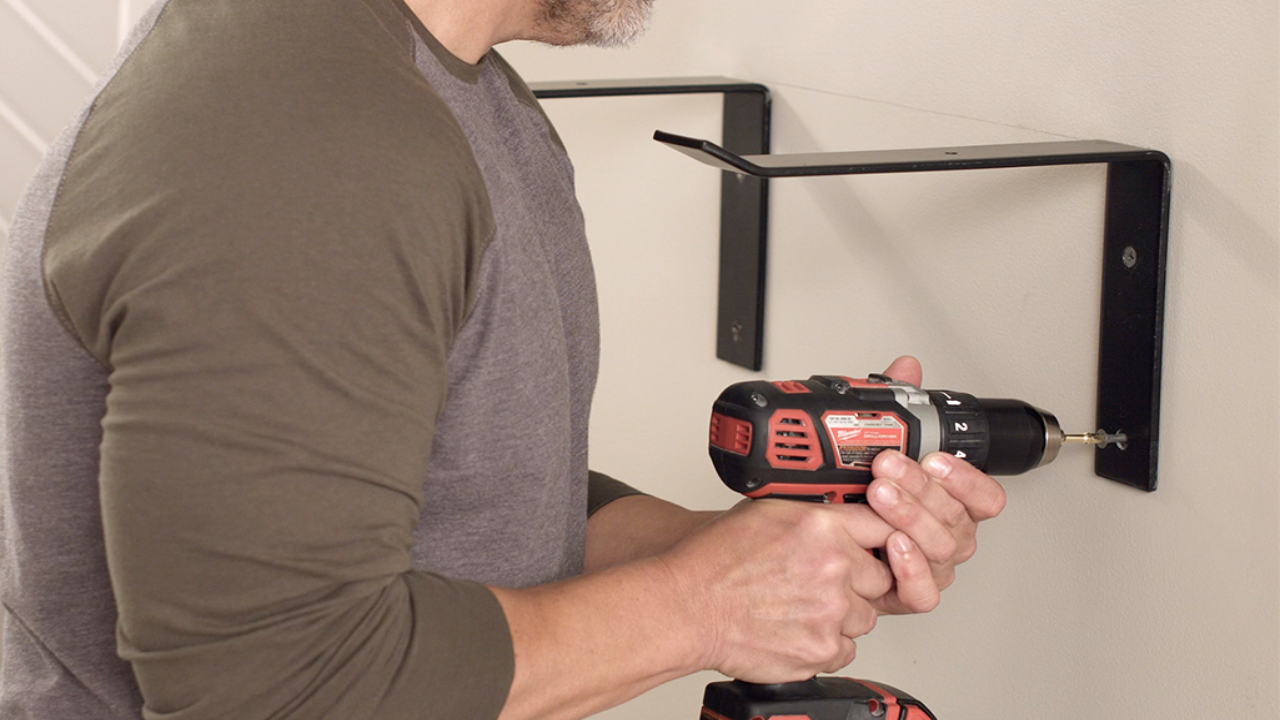
Get your measurements right once more and place the bracket into the groove and drill holes. Ensure that everything is aligned and the marks are in place before doing any irreversible damage to your wood.
In the meantime, you can also prep the predrilled holes present in the apparatus with washer heads.
Drill holes of 1-¼ inch and prepare for final installation.
Make sure the brackets are perfectly leveled off before you finally install them. Then drill holes into the wall and place the brackets into the walls.
8. Final Assembly
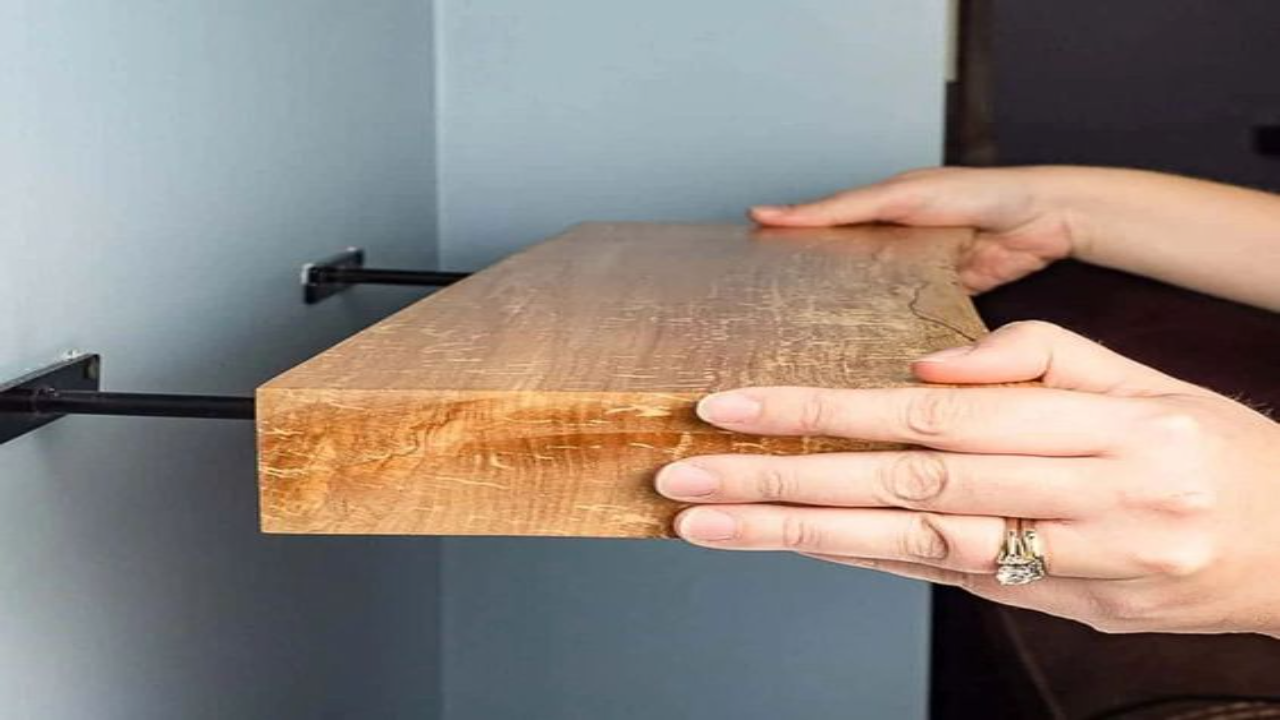
Slide your DIY floating Shelves into place. If you prefer to opt for corner shelves, then it is generally advisable to use the back shelves first. Fix the back shelf against the back wall and follow this up by sliding your shelf into it. Then work around the adjacent shelf.
Hacks to Note While Making DIY Floating Shelves
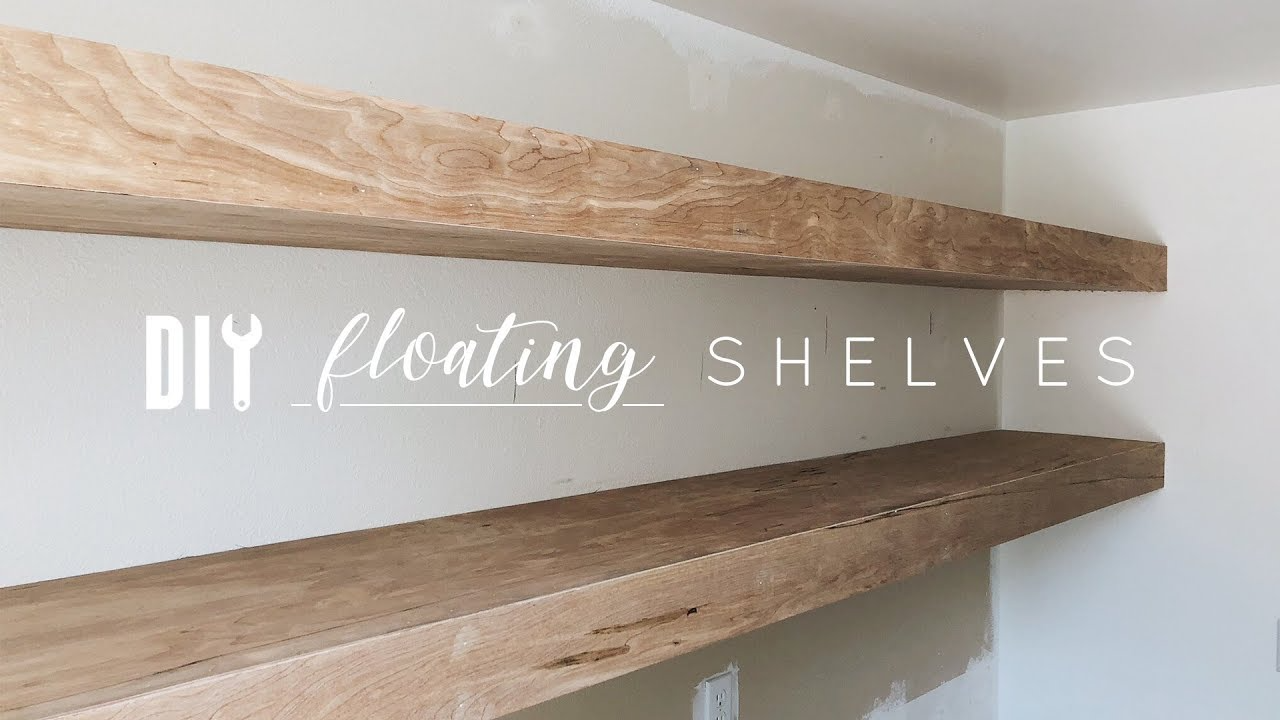
- The Kit DIY – If you are unsure about doing all of this by yourself, you can always choose the simpler, faster process. This means you can choose a DIY kit that you can get easily on Amazon. This one takes barely 5-15 mins to assemble and requires very basic work.
- Be Creative – You can draw more attention to all that hard work by going creative. Instead of going the simple basic route of having a rectangular shelf, you could opt for a more abstract designed shelf.
- Be Minimalistic – If the idea of floating shelves is to have a more minimalist approach, it is advisable to just go plain and simple with your shelves. From the wood stains to the placement, go basic. This one works best for beginners looking for DIY floating projects.
- Make It Pretty – Simple things like rope lights or strip lights can make your floating shelves more dreamy than ever. You can opt for backlit floating shelves or simple strip lights for a more DIY feel.
Mistakes to Avoid During Your DIY Project
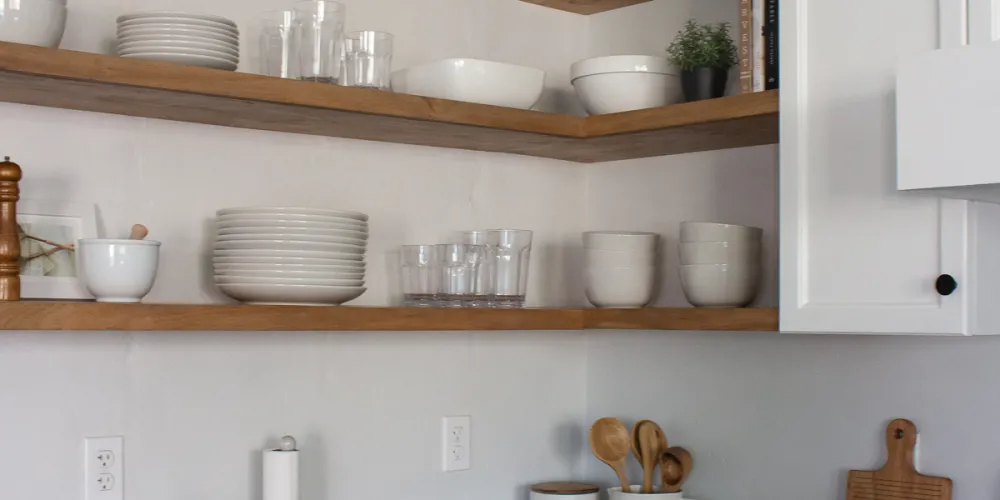
- Unlevelled Shelves: Using a simple leveler can make or break your DIY project. Maybe all your measurements, trimming, and sawing are on point, but unlevelled floating shelves look hideous. Use the right leveling apparatus to ensure you have leveled your shelves well.
- Be Wise About Location: Being impulsive about where your shelves go can cost you dearly. Therefore, choose your location well. Floating shelves must not be in high-traffic areas; they must be above a platform or sofa where no one bumps into it unintentionally.
- Weight Check: Be certain about the amount of weight your shelves can take. Plan the kind of wood, the kind of screw placements, and the number of screws you will place.
Conclusion
Whether it’s the first DIY project as a beginner, or just another DIY project in your kitchen renovation, being reasonable about how you plan and design is essential. Choose simple, easy-to-execute raw materials for your DIY floating shelves project.
With the right tools and a creative mindset, you can have the most stunning-looking shelves that give the desired ‘floating effect’ that can make all the difference in the aesthetic of your room.
These DIY floating shelves add a functional advantage to any room they are placed in. DIY Floating Shelf can be easily assembled with the help of basic raw materials and by following the step-by-step instructions above.
Once done, you can decorate it with lights, pots, and planters to make it a stunning corner or wall.
Frequently Asked Questions
What is a Floating Shelf?
A floating shelf could be a simple horizontal wood shelf that is present on the wall with the help of brackets. With the right kind of lighting fixture, it gives the illusion that it is ‘floating’ as it does not have ground support.
Is it Easy to Make Your Own DIY Floating Shelf?
Depending on the process you choose, the level of difficulty differs. However, in general, it is a fairly easy process. You can further simplify it by opting for a DIY floating shelves kit, or you could buy each raw material and make it as per instructions, thus making it more economical.


