Home renovation is a way to start a new chapter in your life. It indicates change and the beginning of something new and better. It is a way to bring transformation to your mind and surroundings.
So get yourself out there and plan your new decor for a significant transformation, or you can just want to do it because you are bored of the same old ways.
Many times we have huge rooms in our house which do not contribute much to our regular functioning. These are spaces just lying around empty and being of no use. However, you can convert these huge rooms into small compartments, each with different functionality.
You can create a wall and make it your workspace or create two different bedrooms for your two kids. You can also just create a guest bedroom in your house with the space.
It also gives a sense of having different places for different activities in your house, making you more productive whether you are enjoying or working.
Why Must You Build a Wall Yourself Instead of Outsourcing the Job?
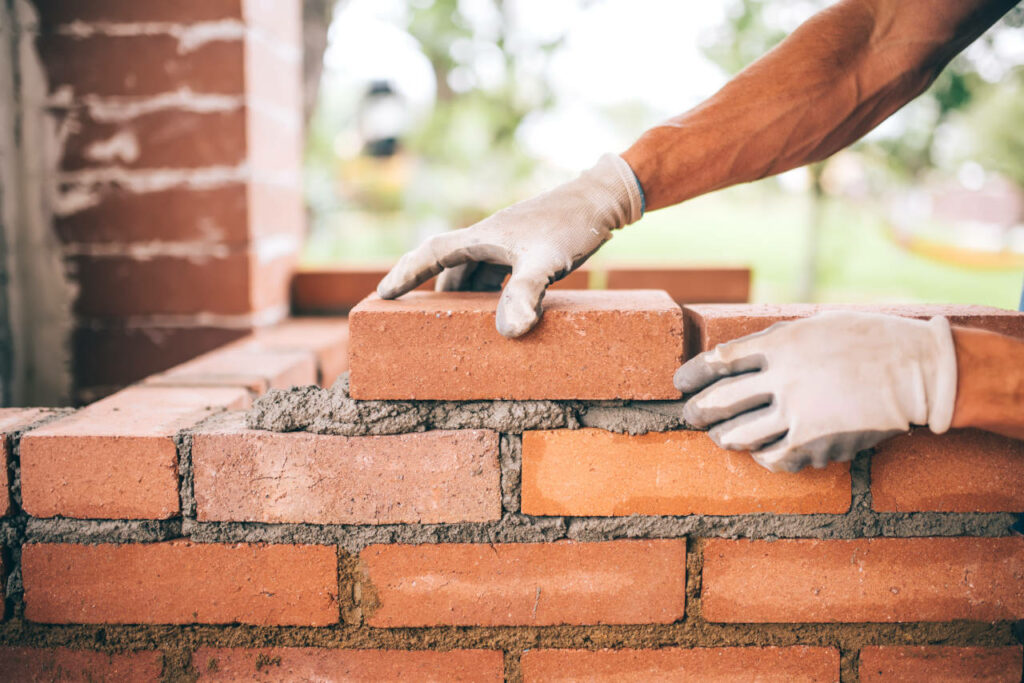
Building a wall by yourself looks like a huge task, and hence we hire people to do it for us. But outsourcing the project creates a mess and costs you a fortune. Apart from the expenses quoted by the contractor, it involves various other expenses that can create a hole in your pocket.
Also, based on the market price, the cost of renovating your house has skyrocketed due to the huge demand for contractors. It also requires you to keep waiting for several weeks so that they can finish the previous one and start working on the next. So building a wall is a small job in comparison to all this, and it can be managed in a better way than outsourcing.
Building your wall is very cheap and quick. It lets you create a wall the way you want it. In this way, you can also minimize the dust and dirt caused during the process and complete it at your convenience.
Interior Walls
There are 2 types of walls. One is load-bearing, and the other is non-load-bearing. The load-bearing ones carry their weight along with the weight of materials above them, including furniture, roof, header beam, flooring, and others. At the same time, the non-load-bearing ones carry only their weight and do not contribute much to the structure of the house.
When it comes to interior walls, they are usually non-load-bearing. They just create a partition between two spaces to create pantries, closets, guest bedrooms, and others.
Materials required for Wall Building:
- Small torpedo level to check individual bricks
- Club hammer
- String and clamps/nails (to create guidelines)
- Tarps or plywood
- Brick jointer
- Tape measure
- Mortar and a mixing bucket
To know more, there is no need to Google ‘how to frame a wall’ as you will get complete information about it in this blog. But before that, let us check out its regulations.
How to Frame a Wall in an Existing Home
Step 1: Brick Selection
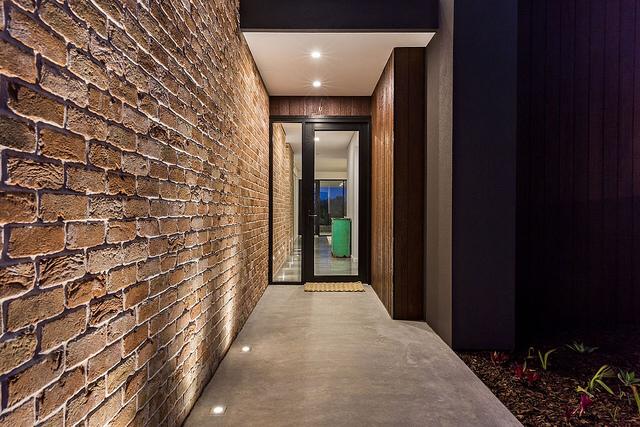
There are several varieties of bricks available in the market, but you must choose the most suitable one based on your requirements and conditions. The types of bricks fall into three main categories.
- Severe weathering- It involves bricks that can stay intact after being in direct contact with moisture and ground. If you are planning to build a wall to solve a purpose in your gardens, foundations, or patios, this is the best one for you.
- Medium Weathering- These bricks are suitable for withstanding harsh and freezing temperatures. They must be built above the ground and used for exterior work. They must not be in contact with the ground.
- No weathering- These types of bricks are well suited only for interior work where they are not much prone to the exterior environments.
Step 2: How Many Bricks to Buy
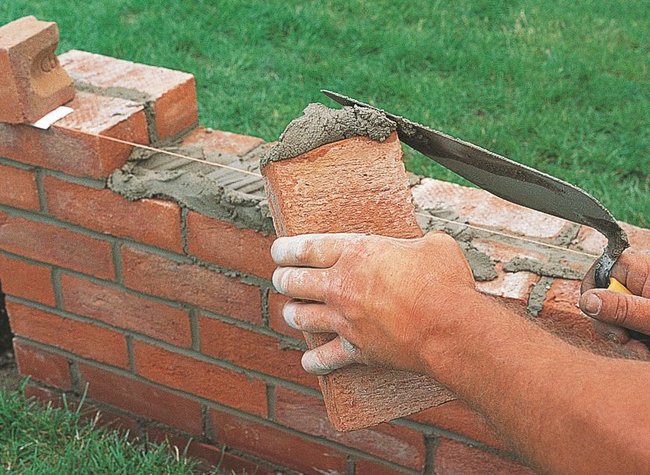
To determine the number of bricks for building a wall, you must be aware of the measurements of the wall and the sizes of the bricks. Also, you must calculate the space required for half-inch mortar at every level and then plan bricks. The bricks come in different sizes and shapes.
This combination of measurements of the brick and the wall is called the brick’s nominal size. Use the addition of brick size and mortar, and divide it with the length and breadth of the wall separately.
The result of this is the number of bricks you will require. Ensure to buy bricks extra than whatever is required for cutting them in half for wall building as well as safety purposes.
Step 3: Dig the Trench
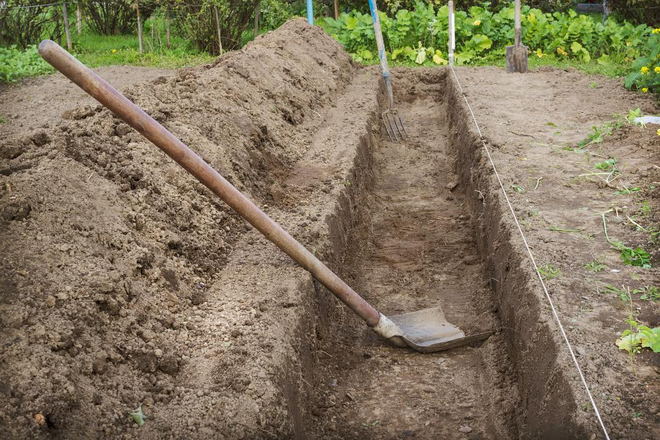
To make the wall sit in, you must build a trench. The trench should be solid with concrete. This is called the footer of the wall. The footer must be 1 foot deep in the ground. If your wall is taller than 2 feet, you will need a deeper and wider trench to hold the wall and prevent it from falling and sagging.
Ensure good water drainage at the footer, away from the wall. If the water is accumulating at the footer, it can cause the failure of the wall.
Step 4: Wooden Stakes Must Be Placed Into the Trench
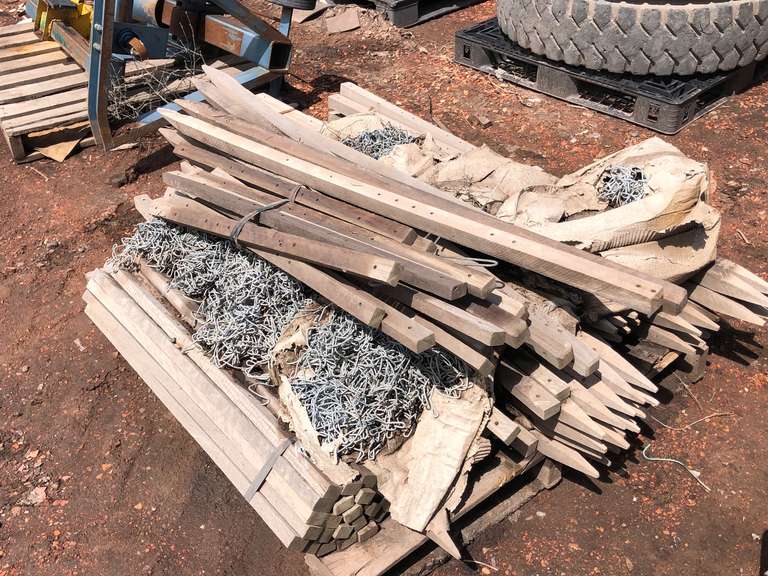
Wooden stakes can be used to drive in the soil such that the tops are at level. Use a leveler to ensure levels at the foot. Place these wooden posts two to four feet away from each other based on the length of the wall.
Step 5: Mix and Pour the Concrete Well
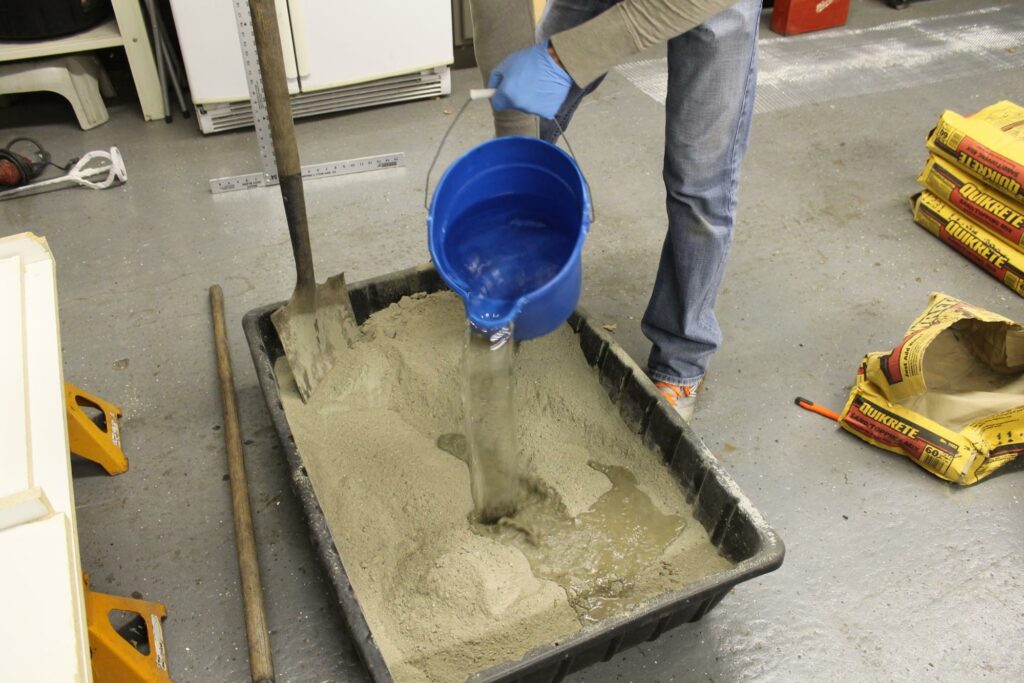
Fill the trench with concrete leaving space for the bricks. It takes 3 days for the concrete to dry well. Use this time to get your supplies for building the wall. You can use a finishing trowel to ensure smooth leveling before it dries out.
Step 6: Make Your Guideposts
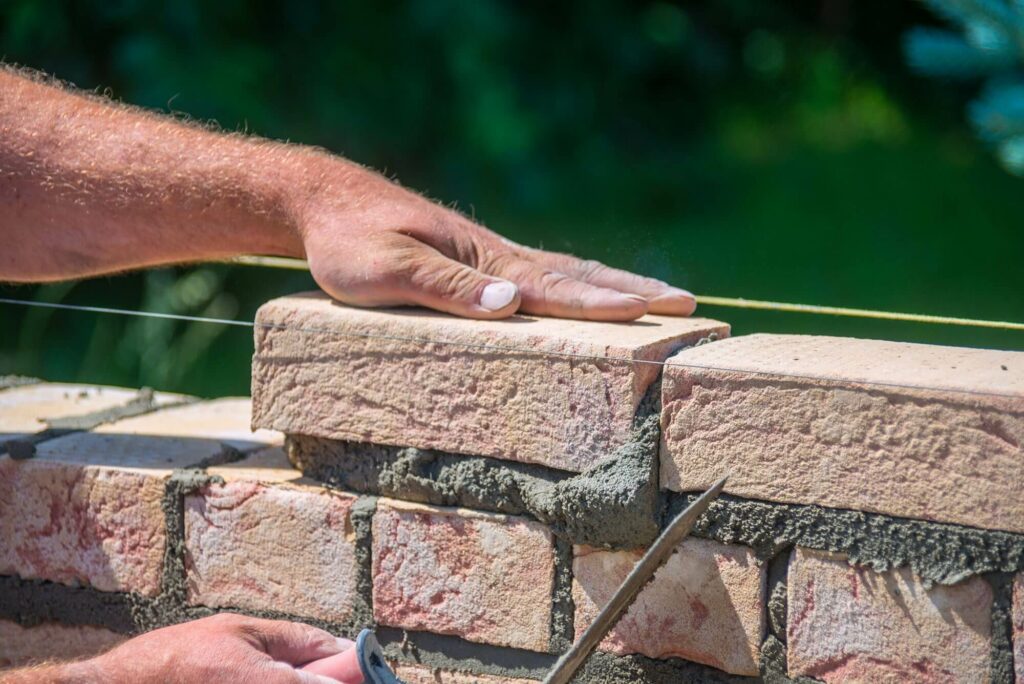
Guideposts are built solely for your reference while building the wall. It will help you ensure that the wall is being built at the same level as every bricklayer. For this, you can use wooden boards and measure each row. Mark the places where the brick must go, counting on the mortar lines. Ensure to drive the posts in the ground so that they can stand alone. Line them up identically by using a tape measure for perfect marking.
Now that the foundation for laying the bricks is ready, let’s move to creating the first row of bricks.
- Lay down the plywood or tarps at the foot of the wall to hold the extra mortar.
- Place your bricks in the first row to see how it goes. Ensure to keep them in spaces, leaving an area for mortar. If you want, you can use tape to ensure that they are apart at equal distances.
- In this, you must run a string from one rod to another to ensure the same leveling at all places. Ensure that the line does not sag. This will help to create a symmetrical design and helps the wall to be straight and even.
- Now keep the bricks in water for some time for them to soak, and then dry them out.
- Now lay the layer of mortar. You can also put a little more of it as you will press the brick in it.
- Take a brick and push it down in the mortar. Remove the extra mortar coming out of the wall before it dries out.
- Apply half an inch of mortar to the next brick before placing it on the mortar.
- Ensure that this layer of the wall is built in level. Take measurements to understand how perfectly you have been working before going to the next layer of bricks on the wall.
Step 7: Adding More Layers of Bricks
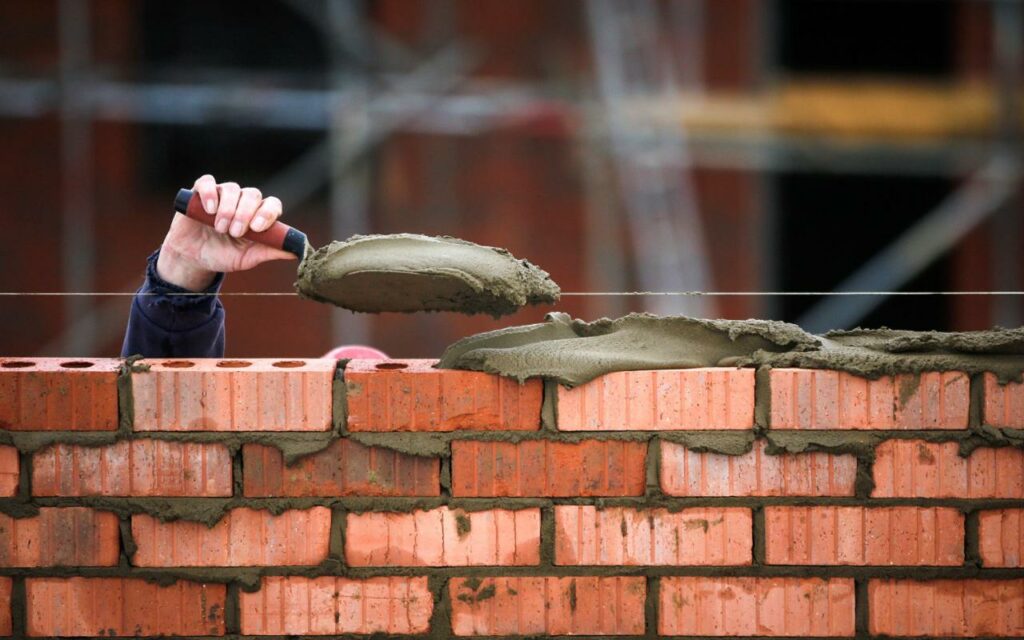
Continue this process in each row. However, ensure alternate placing of the bricks on the wall so that they do not line up one on the other. Apply mortar and move the reference frame. Ensure that all the bricks are set in the mortar at the same height.
Finishing the Wall
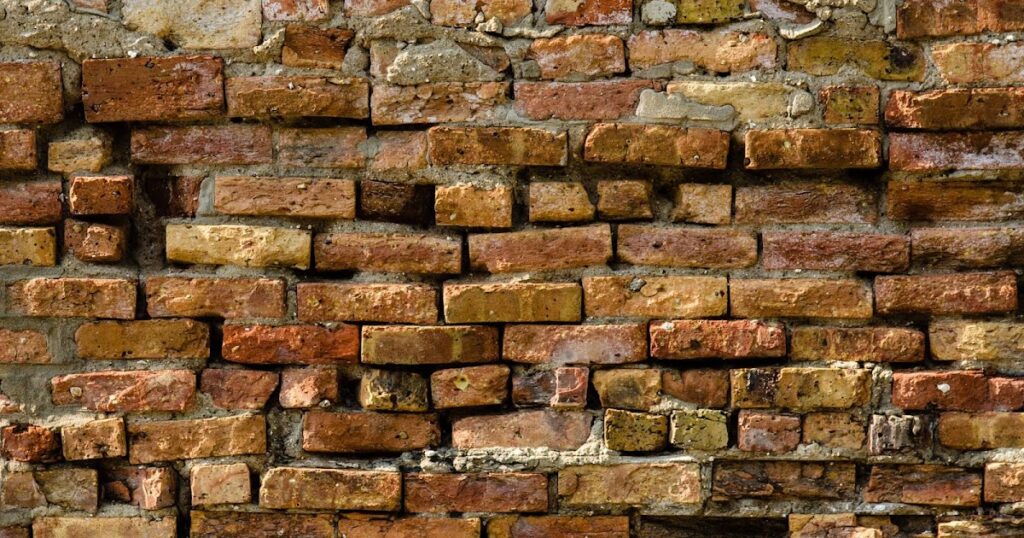
The process of wall building does not end after just building a brick wall. It requires finishing, especially if you are building it inside your house.
Now check the wall and fill in any missing patches or gaps in the wall using mortar. Ensure that the surface has become even and smooth. Wait for the mortar to dry out for a few hours.
If you are making a wall in the interior of your house, a single brick-width wall is good to go. But if the wall is being built in the exterior, you may need a double brick length wall to withstand harsh weather conditions.
In the two bricked walls, you can avoid cutting off the bricks to place them in alternate layers. In this method, you can simply use the full bricks and turn each of them on the end. It must be perpendicular to the previous row. This will help the joints to stand well for a longer duration.
Now that the wall is ready, it’s time to make it part of your house. You must decorate the wall such that it blends with your home interior decor. You can apply Plaster of Paris on your wall before painting for the paint to stay on well for a long time and give a smooth texture to it. Give it a layer of POP, and then paint it with the color you want.
Conclusion
Building a wall may look like a tedious task, but in reality, it is a job that can be completed in a week. It requires some proper planning and discipline at every step to make it stand strong for a long time. You can save your money and build strong walls by yourself with these simple and easy steps. Whether you are a beginner or a professional, you can build a wall that is strong and sustainable.
Following the given steps will give you a perfect answer to ‘how to frame a wall.’ So go ahead and take a chance for yourself and see how well it turns out, along with saving your money and eliminating the mess.
Do tell us about your wall-making experience and problems faced during the process in the comments section.


