The fabulous charm of beadboard walls would attract any homeowner, and the reasons for its captivating looks would also get a deep thought. Homeowners prefer beadboards for walls for the cool, homey, and vintage appeal. Also, the DIY option makes the beadboard wall endearing with its classic and charming looks. Beadboard applications are common in entryways, living rooms, bedrooms, kitchens, and bathrooms.
The name beadboard originates from the bead-like bulge or indentation seen between the constituent wood planks. In making the wall, you can install the wood planks vertically or horizontally for sturdy walls that are visually appealing too.
The merits of beadboard involve its ease of installation and the moderate cost that will not pinch homeowners while serving as a good alternative to tiles. Good to be painted, these beadboards can be installed to any height and finds use in ceilings and cabinetry too.
Now look at some of its applications and the DIY methods of installation.
1. Beadboard for Entryway
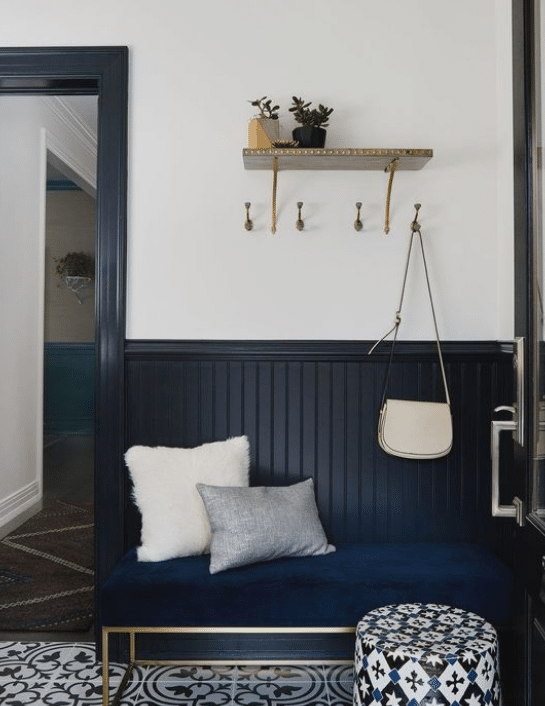
You have to determine the height properly in the beadboard wall for an entryway. Say, if it is about 24 LF (linear feet) of wall space, then the beadboard paneling required will be in 4’x8′ sheets. You can cut the material in half to make 4’x4′ pieces. Use finishing nails to secure the panels. Although liquid nails are also used, some people are not very comfortable with them.
Mark the wood studs for accurate nailing into them and not solely on the drywall. Hold the panels up to the wall, check if they are level, and then nail them. The panels should fit seamlessly after caulk and paint.
2. Beadboard for Living Room
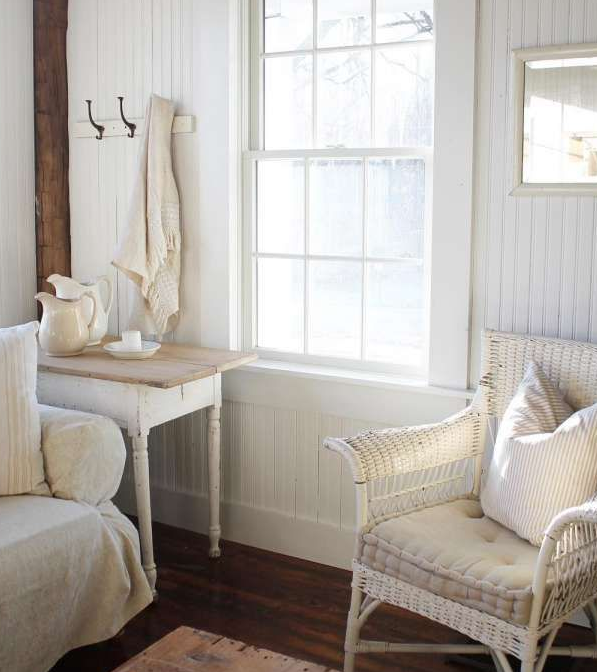
Beadboard as a chic accessory will suit the decor needed in your living room. It gives a stylish texture and patterns to the decor and will look very attractive. Beadboard is also good for decorating the ceiling.
You may use it to cover the entire wall space or just use it as an accent. Beadboard will work as a great accessory if you love the coastal decorating style. In this decor idea, a beadboard panel in a white finish engulfing the entire wall is stunningly gorgeous.
3. Beadboard for Bedroom
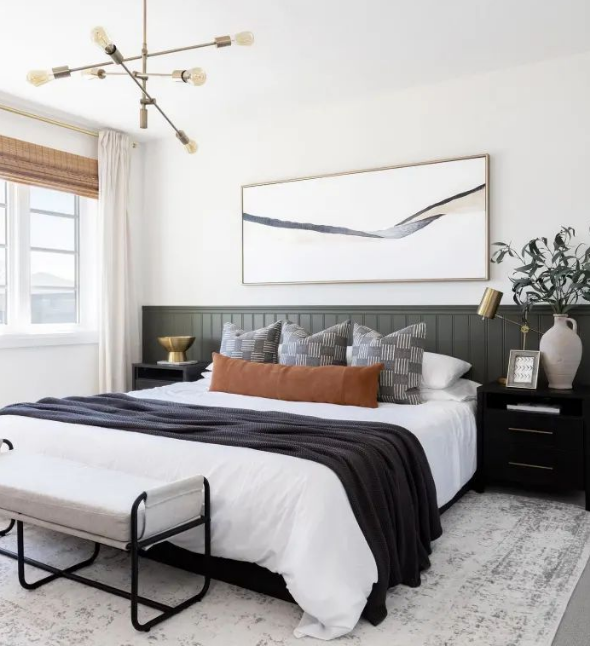
Beadboard wall panels look phenomenal in bedrooms, and you can opt for any decor style, including farmhouse vibes. It pairs well with a lot of bed designs and furniture. There are several ways to use beadboard walls in bedrooms.
Aside from the ease of installing along the perimeter of the whole room, the common application has been that of an accent on the headboard. This makes the bed a focal point and adds texture too.
4. Beadboard for Bathroom
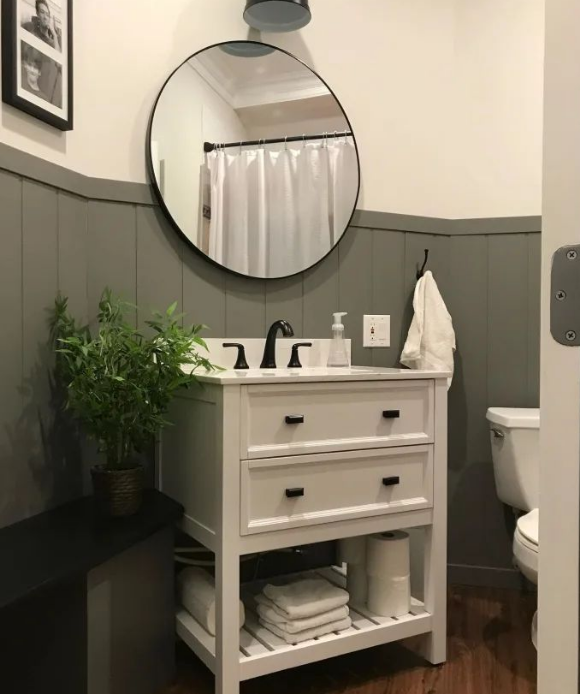
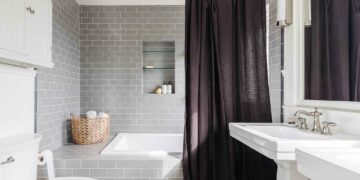
Beadboard wall panels in bathrooms can be applied to different heights to add glitter to a large space. The wall treatment is possible at three levels: under the large window, halfway up the wall, and above the large vanity.
The heights can be suitably played up or down to make it more playful.
5. Beadboard for Kitchen Island
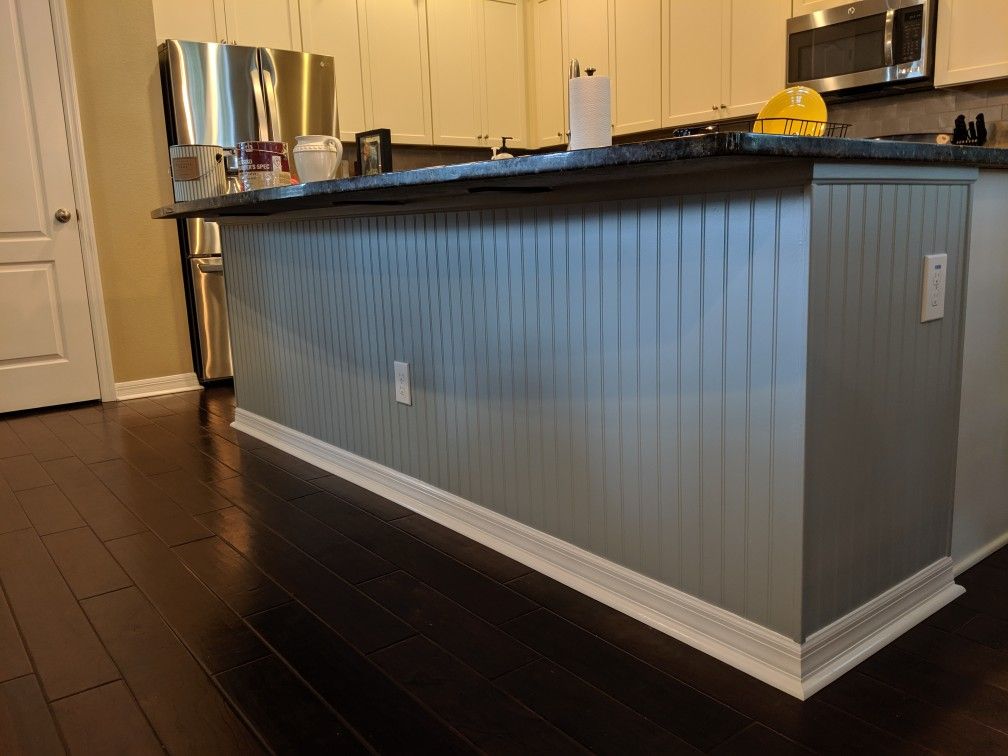
As for kitchen island ideas, pairing beadboard cabinets with a beadboard back panel will be amazing. The cohesion it yields will be superb. The beadboard kitchen island can be the extra worktop and also double up as a miniature dining space.
Main Steps in the DIY Installation Process
Now that you have identified the prime space for enforcing your beadboard charm, let us focus on the key steps to complete the DIY installation process of beadboard walls. In the DIY exercise, you have to be confident about using the Brad nailer and circular saw to cut the panels to suitable sizes. If the beadboard panels can cover enough wall studs to nail in securely, you can avoid using construction adhesive in making the beadboard wall panel. But, if you are attaching bead boards to a ceiling, use glue to ensure they are securely affixed. Now look at the steps in detail.
1. Measure the Wall Dimensions
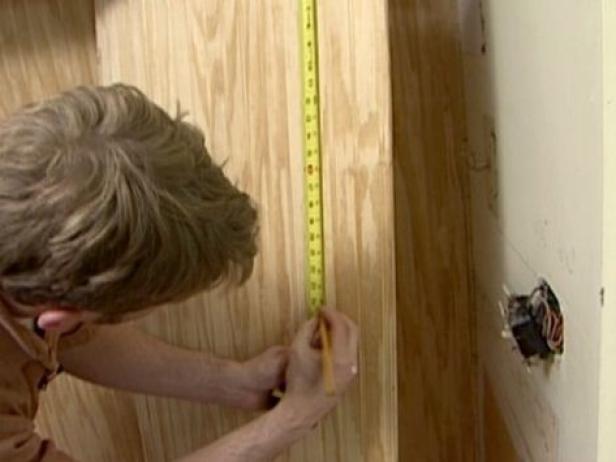
The first thing in your DIY effort is to install a beadboard wall. For this, take measurements of the wall or walls. Determine how many panels or planks of beadboard you will need. For example, if the wall is about 9 feet, plan for three 4ft x 8ft panels.
2. Remove Moldings at The Top and Bottom
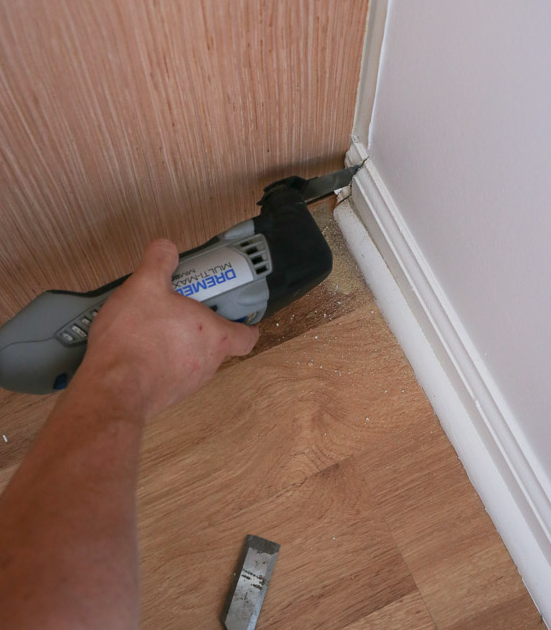
For a clean, professional look, remove crown molding and floor molding. In case of any existing wall panels or accents, remove them and score the top and corner caulk lines with a utility blade.
3. Mark the Wall Studs
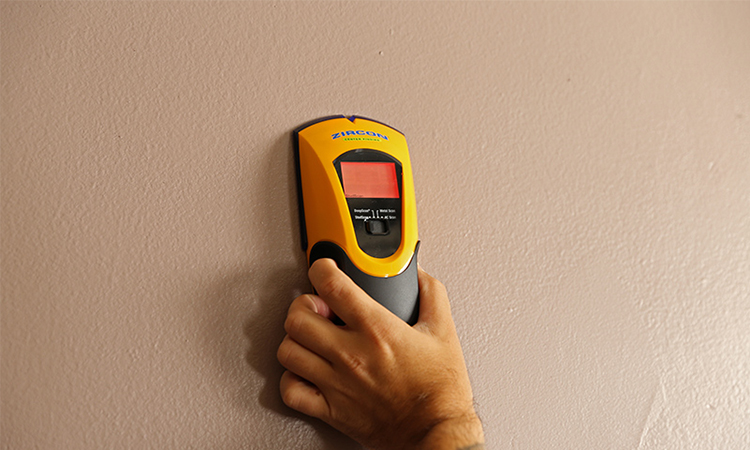
For easy integration of the beadboard panels to the wall, use a stud finder to mark wall studs. Marking the studs is important to ensure nails are entering straight into the stud. This holds the beadboard in case you are not affixing the panels with adhesives.
4. Cut the Beadboard Height Appropriately
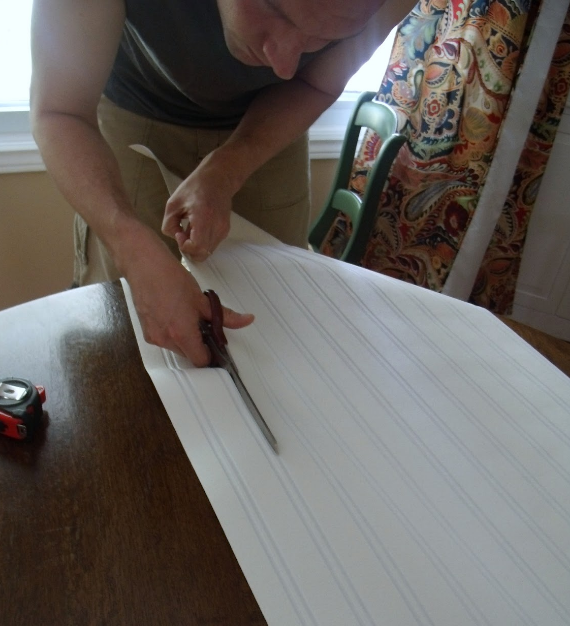
You can cut the beadboard panel height to size as the second step in the DIY beadboard wall. Also, factor in the requirements, such as floor and crown molding. To cut the panels, use a circular saw and a table saw. You can also ask the home improvement store to cut the panels to size. If you are using beadboard planks, you can cut them with a miter saw.
5. Install the Beadboard to The Wall
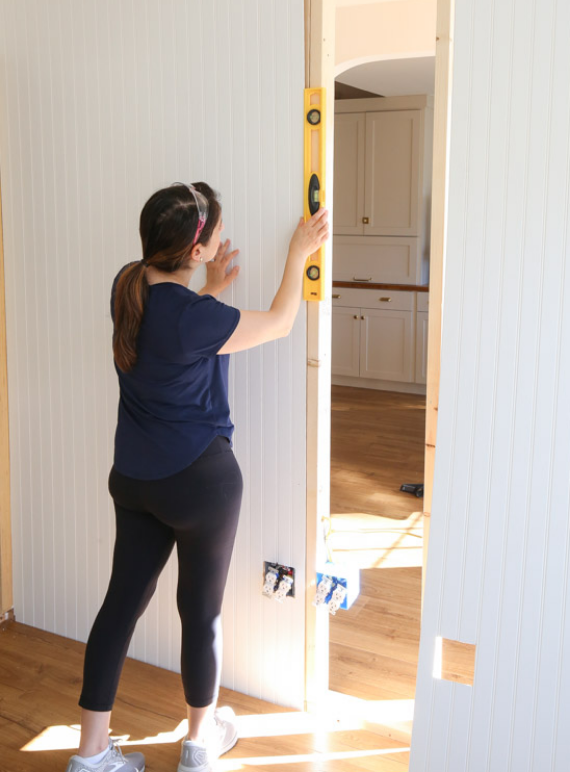
Install the first beadboard panel and achieve leveling. Do this for the first panel on the wall. Try to installthe first beadboard panel with a level. If the beadboard panels cover enough wall studs, it is time you start nailing into the wall studs without any construction adhesive. If the beadboard panels do not cover enough wall studs, attach them securely with a construction adhesive. Try not to use construction adhesive on bare wall studs that do not have drywall. Do special cuts for wall outlets and features such as light switches and others.
6. Place the Final Beadboard Panel
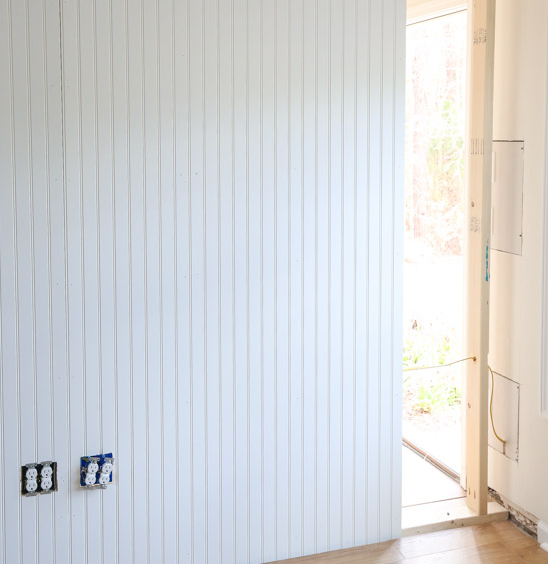
Once you have reached the end of the wall, measure the width from the edge of the last beadboard panel to the wall corner. Cut the panel accordingly using a circular saw and straight edge guide or a table saw. But cut them in a way the edges line up properly.
7. Install the Crown Molding
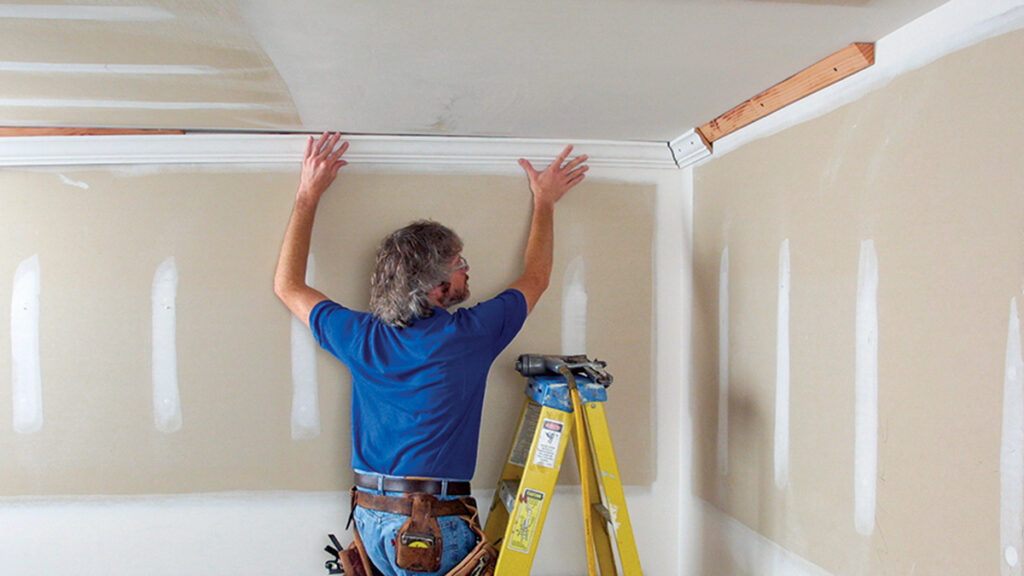
If you are planning crown molding along the top of the beadboard wall, install it into the studs with a Brad nailer. If you want to use crown molding or top trim, cut it to size with a miter saw in case you want to skip special angled cuts. If the floor molding is different from the crown molding, you can hold its installation until you have painted the beadboard to make its painting process hassle-free.
8. Prepare for Painting
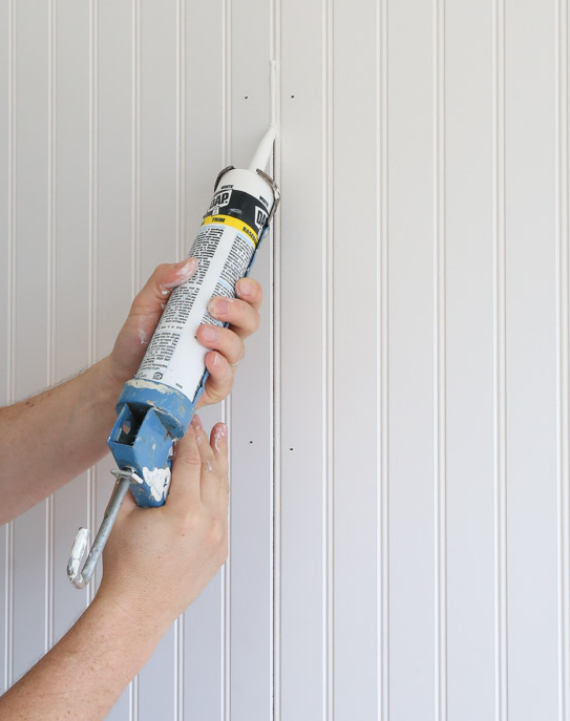
To prepare for the beadboard wall panel painting, fill all the nail holes with wood filler or light spackle and lightly dry it. Sand up those spots to make them smooth. Caulk to seal joints around the moldings, corners, and edges where pieces of beadboard meet each other. Using paintable caulk is a good idea.
9. Paint the DIY Beadboard Wall
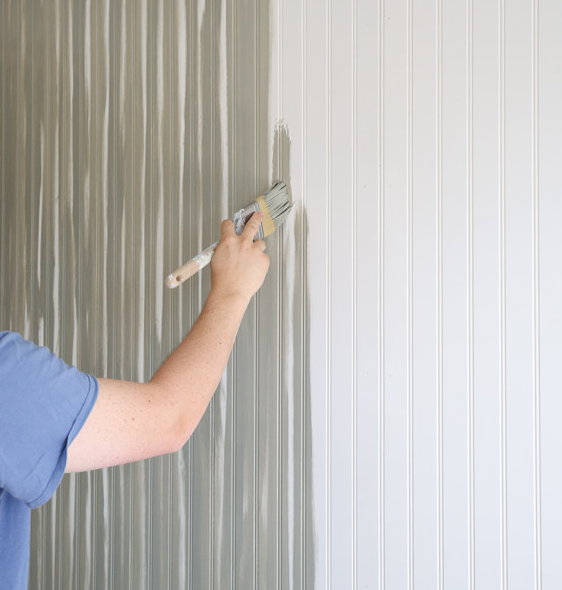
As for beadboard paint color ideas, the choice is personal. You may want to use Cornwall Slate by Sherwin Williams or Gidden Essentials. During painting, cut into the beadboard grooves first with a
paintbrush. Then, roll the paint on the beadboard using a paint roller.
How Wainscoting Enhances the decor
Wainscoting has certain differences from beadboard as it is more of a decorative paneling and functions like a wall accent. Wainscoting is applying beadboard to the lower portion of the wall covering the lower three or four feet of an interior wall.
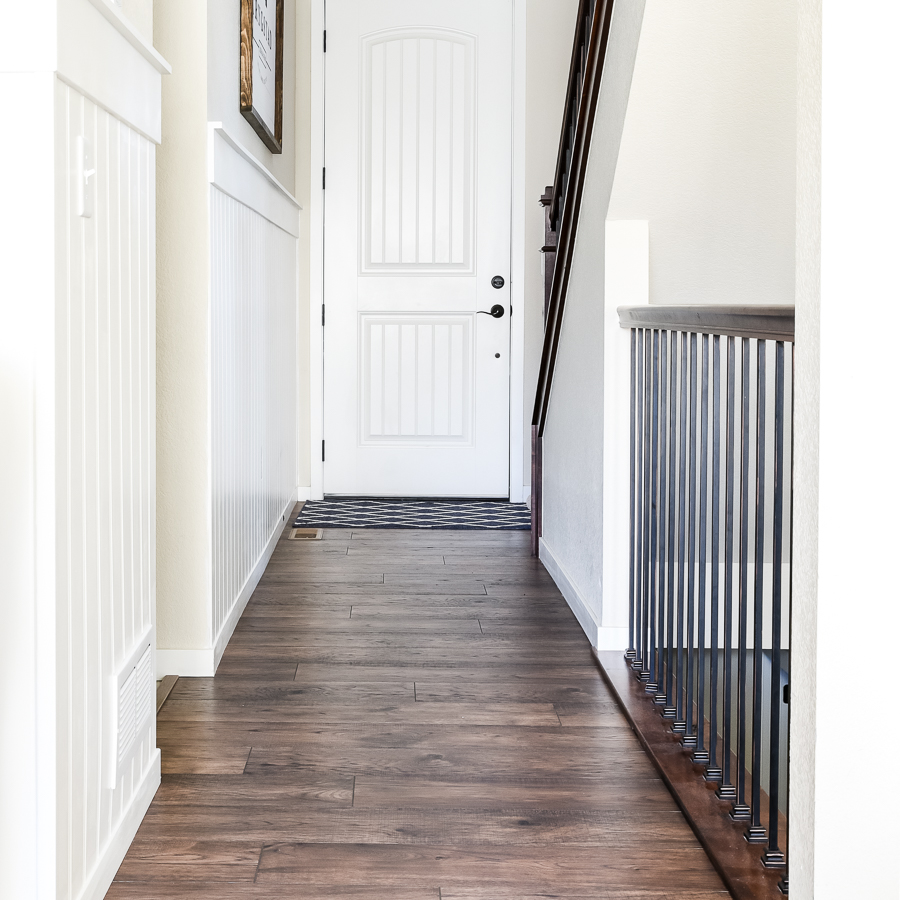
The key elements of wainscoting are the panel and frame, with the frame in four pieces, such as the top and bottom rails; two side pieces called stiles. The different types are raised panel wainscoting, flat panel wainscoting, board, and batten wainscoting.
Although there is a perception that beadboard does better in traditional decor, experience shows it can adapt to a range of styles such as Cottage, Bohemian, Modern, Rustic, Farmhouse, Modern, Minimalist, Contemporary, Industrial, and any decor for that matter.
Also, understand how beadboard differs from shiplap. In the latter, panels interlock joints to make planks rest on top of each other nicely. In contrast, beadboard makes use of wooden boards coupled under a tongue-and-groove model.
Things to Care About While Doing DIY Beadboard
You can buy beadboard from home improvement stores like Home Depot. They are available in different sizes, including large 4ft x 8ft wall panels, and the material can be MDF or HDF that is primed to paint. Beadboards are also sold as unfinished wood planks and wood panels. Standard beadboard is in 1.5-inch and 3-inch widths. But there is always scope for custom widths. Beadboard is generally installed vertically, although some would install it horizontally for a different look.
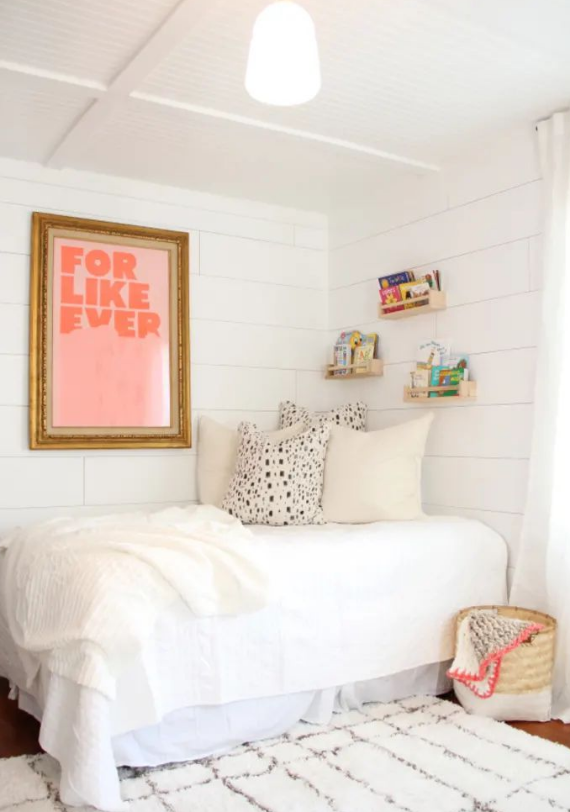
The cost of the beadboard depends on the material and the size of the panels or planks.
Conclusion
The appeal of beadboard is rising, and its classic background has not ebbed the demand a wee bit. It will never be out of style, remain a staple as Herringbone floors and curved side splashes, and retain its appeal as a hot element in the design world.
One perennial charm about beadboard is its flexibility and versatility. It never follows a cookie-cutter style with variations in panel widths, heights, and applications. As a versatile material, it has many applications in wall, ceiling, and cabinetry spreading cheerful vibes and cottage-like looks with suitable paint colors and decorative accents.
The discussion above has thrown up ample cues regarding DIY installation methods of beadboard, its compatibility, and its appeal with various spaces and decor styles. You can now try beadboard walls to elevate your home interiors for a makeover by using these tips to add a touch of class.
The best part is that you can do your own pace with these DIY options, giving you the opportunity to express your creativity splendidly.
