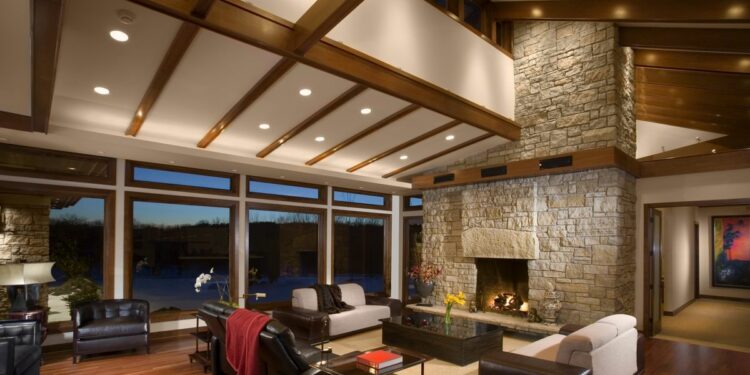
Are you looking for the right way to install vaulted ceiling beams in your home? Let us help you find the perfect guide. Vaulted ceiling beams easily uplift the vibe and style of a room. Kitchens are the rooms where such vaulted ceiling beams are usually installed. But there are no strict rules about installing them elsewhere. As long as it fits and looks good, it can be installed anywhere.
When it comes to installing vaulted beams on the ceiling, a lot of things should be considered, ranging from the kind of beams used to their design, etc. These structural beams will hold up your roofs, but most of the time, all the beams will do is add to the aesthetics of your home.
Scroll down to learn how to install vaulted ceiling beams in your home.
What is a Vaulted Ceiling?
The history of vaulted ceilings dates back to the 1800s. In most vaulted-ceiling buildings, wooden beams are used. Normally, a lot of flat-roofed buildings seek the help of such beams to support the roofs. This style of architecture led to the introduction of vaulted ceiling designs, even for contemporary homes. It is believed that the very first vaulted ceilings were made of not just wood but even plants and their branches. As time passed, engineered wood took its place. Sometimes even the raw logs of a tree are used for vaulted ceilings.
How to Install Vaulted Ceiling Beams
Before going through the entire process of installing the beams, you are first required to ensure that you have all the right tools and properties required to install them.
Below is the list of items you must keep ready before starting the installation:
- Wooden box beams
- Measuring Tape
- Markers
- Wooden Screws
- Finish Nailer
- Saw
- Drill
- Stainable wood filler
- Wood stain
In this tutorial, we are going to discuss installing wooden box beams for your ceiling.
Step 1: Take the Count of Beams
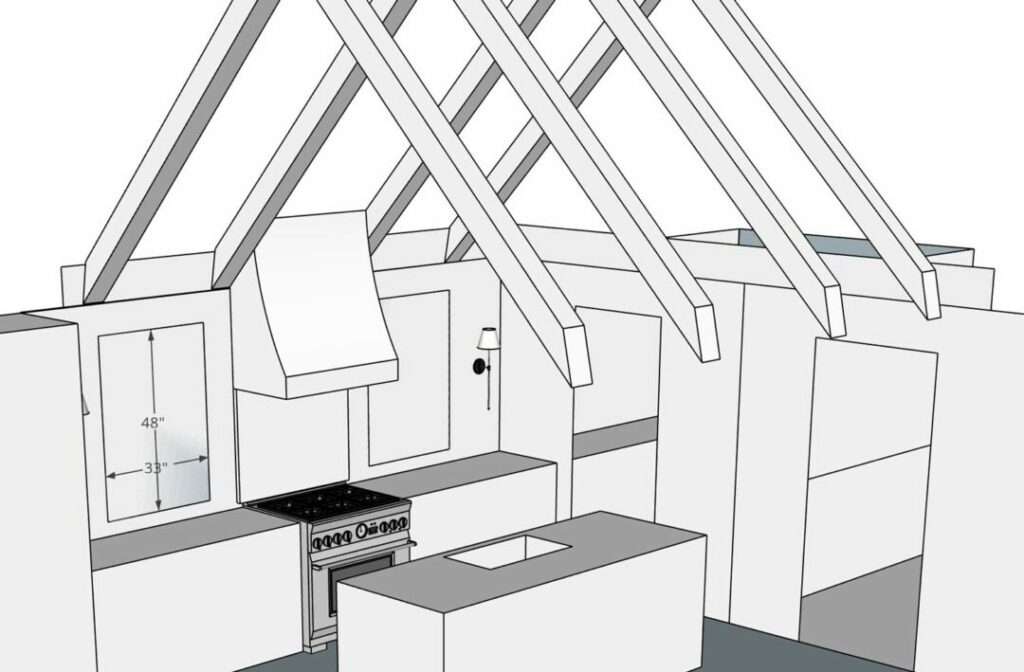
The very first thing you should do is understand how many wooden boxes beams the roof will require. Don’t use too many beams, as it may look overpopulated. Using a very small number of beams will create obvious and odd spaces on your roof. Hence, it is recommended to choose the right number of beams. If you are confused about how to determine the right number of beams for your roof, you can get help from applications for the same.
Sketchup is an application that will allow you to properly plan such arrangements before installing them in your home. You can start by creating a mockup of the kitchen using this app and then visualize the entire setup under various scenarios. Try different ways of spacing the beams and modifying the total number of beams. Once you are satisfied with a particular design, you can proceed with the actual work.
Step 2: Staining the Beams
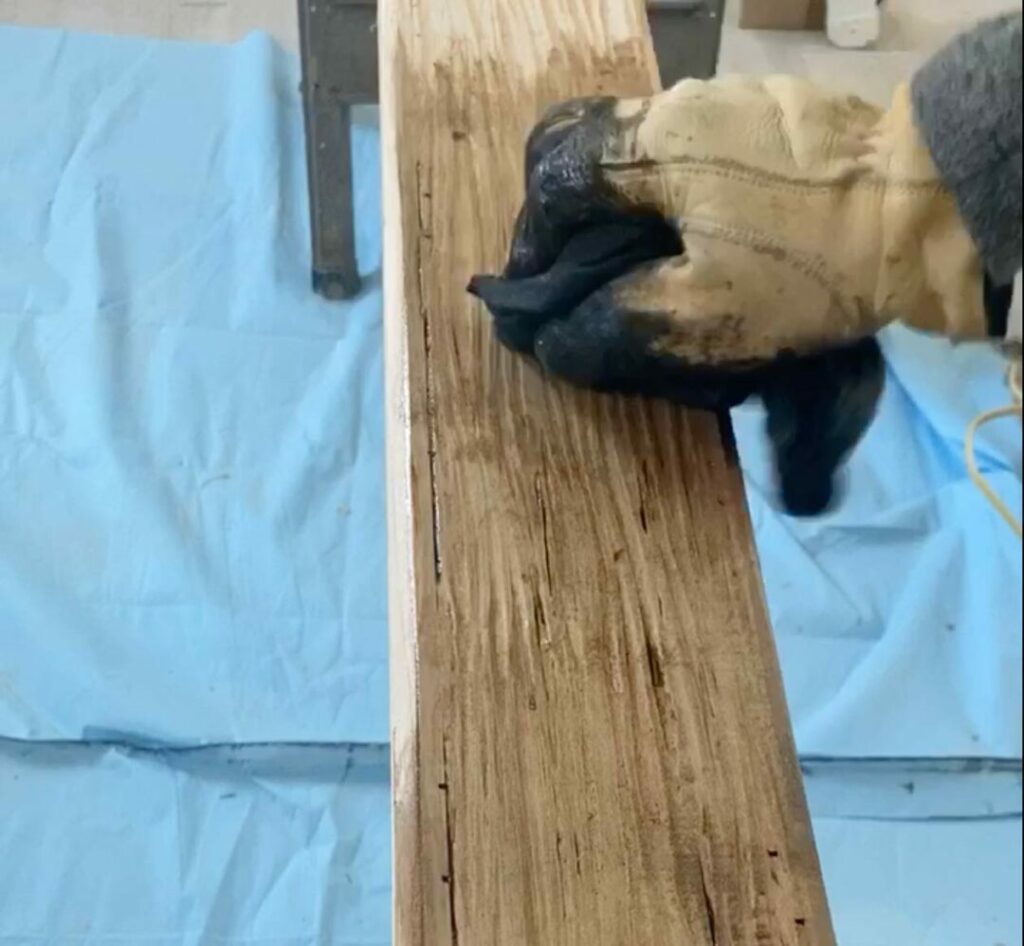
Using raw wooden box beams won’t suit your roof most of the time. It is always advised to plan your decor in such a way that it matches your home’s design. Multiple wood stains are available on the market, and you can use the appropriate one to stain your beams.
Step 3: Placement of Beams
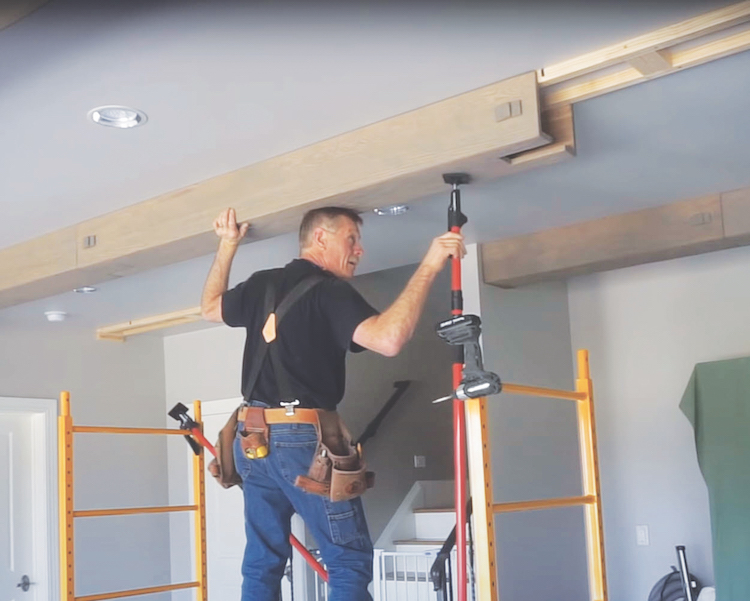
This is an integral part of the installation. To make it simple, let us start with the basic placements first. It is a known fact that there will be one wooden box beam on each side of the hood. You can start by placing this beam. To make sure they are placed in a straight line, mark the meeting points of the beam using a marker. Once at least two beams are placed this way, you can start marking the outer beams. Repeat the same steps while placing wooden beams on the outer side of the structure to create a vaulted ceiling.
Step 4: Positioning the Mounting Plate
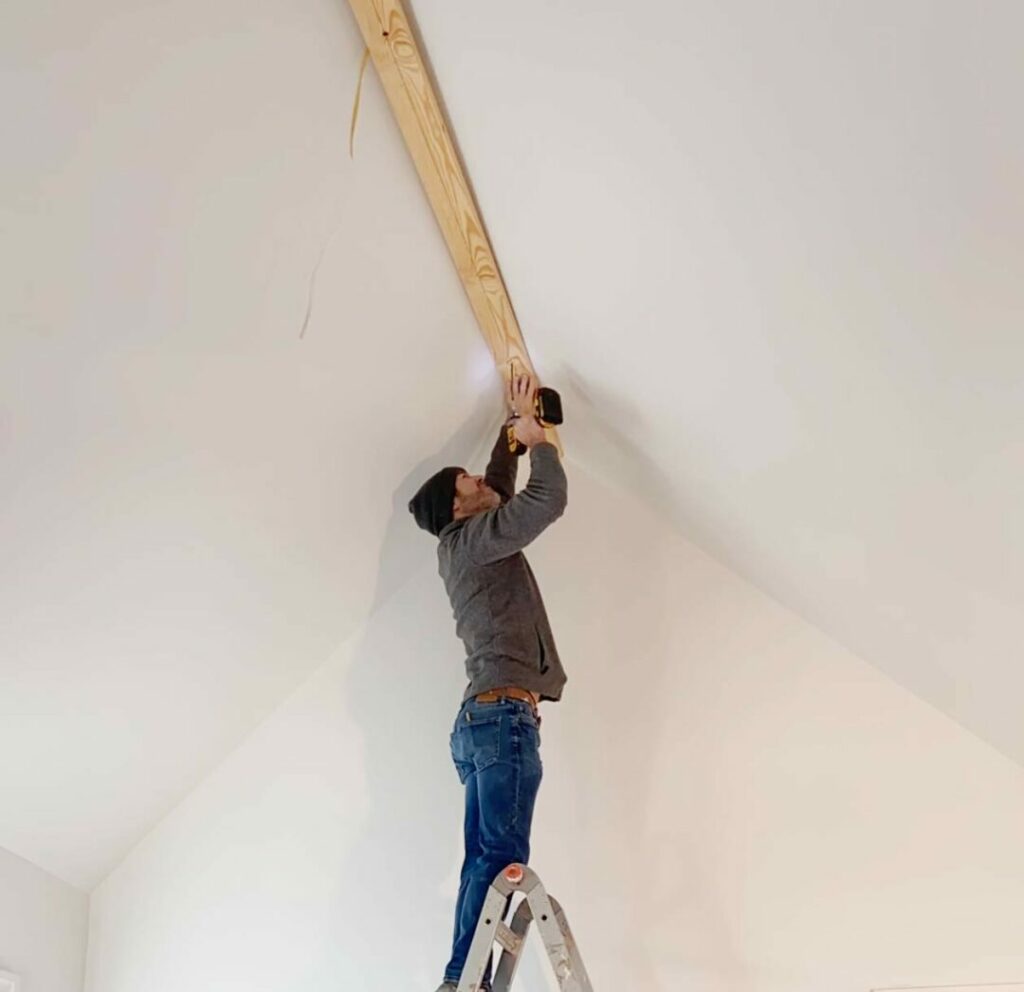
To place the beams, you should use a mounting plate. The mountain plate can be fixed to either the ceiling or the drywall. You can start by cutting the mounting plate using the saw. Make sure that you cut the plate exactly to fit the length of the room. Using the drill, you can create holes for the screws. The measurements are always according to your requirements. Once the screws are in place, position the mounting plate in such a way that it aligns with the markings you made earlier while positioning the beams.
Step 5: Positioning of Beams
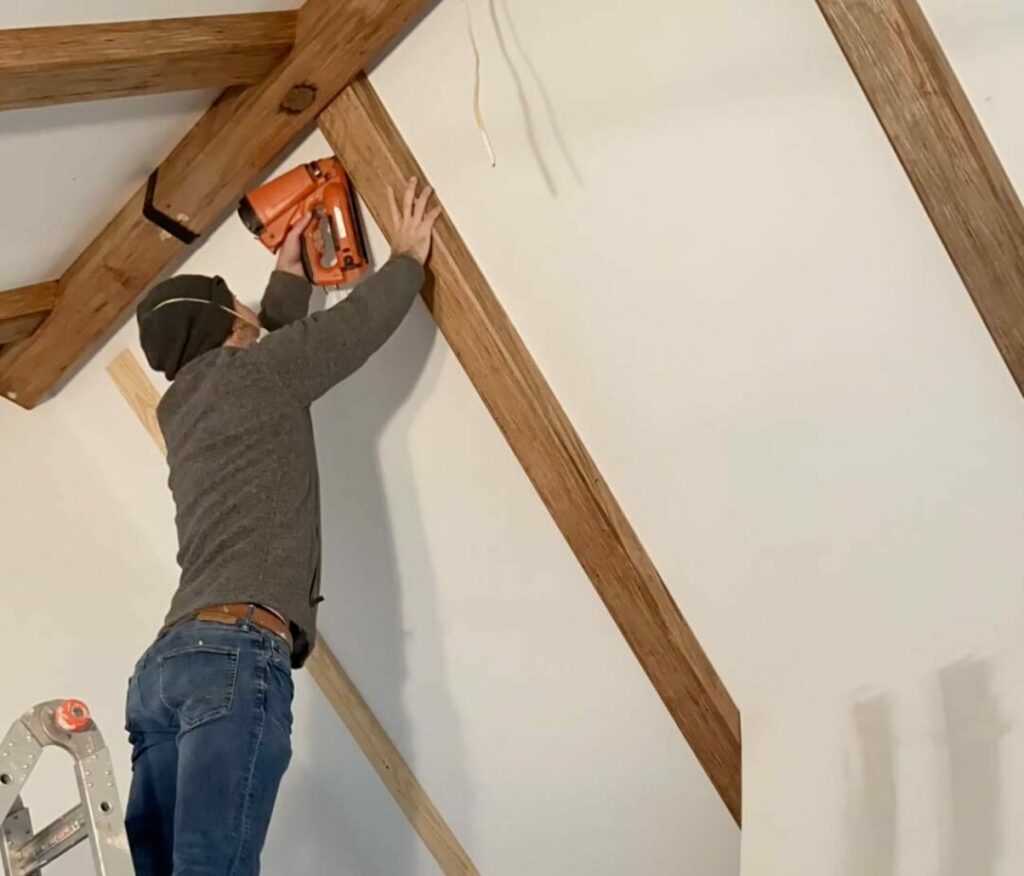
As soon as the mounting plate is fitted to the ceiling, you can cut the beams using the saw and fix them to the plate. Make sure to cut the beam correctly to fit the length of the mounting plate. Once the beams are fixed in position, you can attach them firmly using a finish nailer. Unlike ridge beams, vertical beams can’t be cut straight. You will have to match the angle of the roof while preparing the cut on the vertical beams.
Step 6: The Finishing Touch
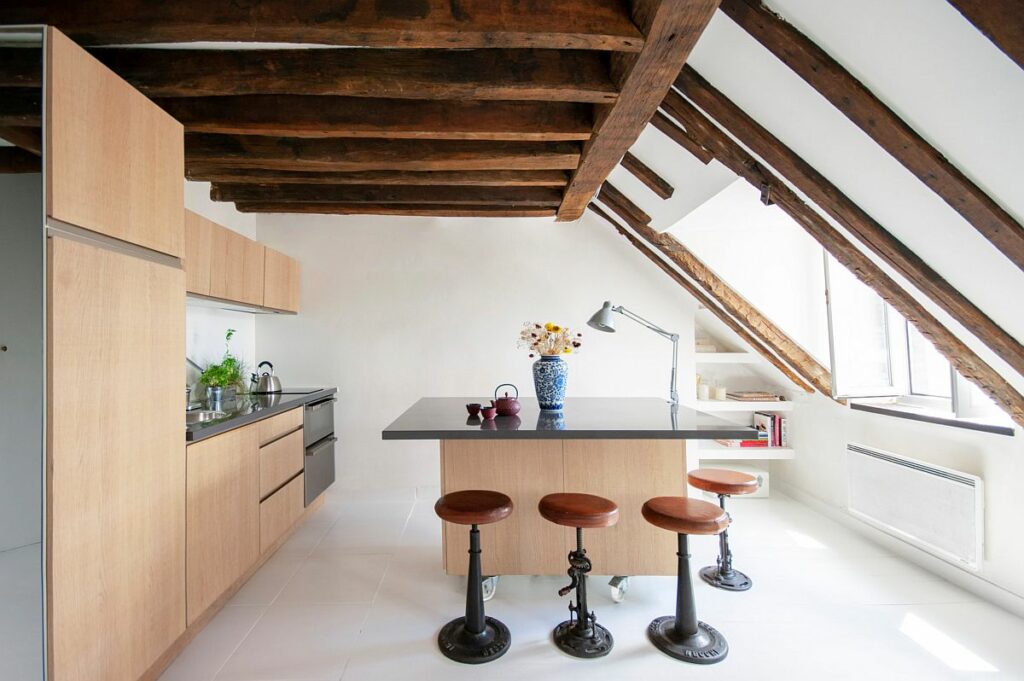
Once all the beams are installed, you can clean up the entire setup to make the vaulted ceiling look better. You can buy stained wood filler from the market to fill the holes if you notice any gaps. After this is done, use the remaining wood stain to touch up the parts as required.
Different Kinds of Ceiling Beams
Vaulted ceiling beams can be differentiated into two kinds: Structural and decorative.
1. Structural Vaulted Ceiling
Structural beams are actually used to support the building and are an integral part of the building’s architecture. The role of such beams is to support the roof and multiple floors of a building, including the walls. Such beams are usually very heavy and require bigger machines to install them properly. These beams will be either made of solid hardwood or steel.
2. Decorative Vaulted Ceiling
Decorative ceiling beams are usually used to mimic structural beams. These beams are called as faux ceiling beams and are used only for decorative purposes. Hence, like structural beams, they don’t have much weight. It is usually easy to install such beams all by yourself. Decorative beams are also available in the ready-made form in markets and are usually made of polystyrene or molded fiberglass.
Types of Vaulted Ceiling Beams
When it comes to exposed beam ceilings, there are multiple types to consider.
- Hammerbeam Roof Ceilings: Hammer beam roof ceilings are a part of English Gothic architecture. They are distinct in nature, with large beams that are positioned close to the walls and the roof. This type of ceiling won’t have a central webbing structure at the corners and will leave plenty of space at the center of the vault. They not only support the roof and walls but also make the room look large and spacious. If you have a sloped roof style in your home, you can consider this style of ceiling beams for the home.
- Box Beams: Box beams are decorative ceiling beams and are used to mimic heavy, structural beams. These beams usually come in a three-sided structure. The beams are highly customizable, and you can even find hand-woven beams to create a unique look. These beams are used to create coffered ceilings. It is to be noted that such beams won’t suit rooms of lesser height. To get the maximum visual effect of such beams, they are to be installed under higher ceilings.
- Steel Beams: I-shaped steel beams are used to give the ceilings an industrial look. You can even stain the ceilings in steel grey to achieve the same look. It is to be noted that, to install structural steel beams, the assistance of an experienced engineer is recommended.
- Exposed Joist Beams: Exposed joist beams are basically exposed beams. They are usually narrow and sometimes have wires and strings attached to them. Usually, exposed joist beams are seen in black or grey shades. Such beams can adversely affect the structural integrity of the building.
End Note
Even though vaulted ceiling installation facilitates DIY, it still requires careful handling. But as soon as everything about installing vaulted ceiling beams is done, you can see how different the room starts to look.
Such a small alteration to the structure of your room can evidently make a big, positive change. Make sure to take the measurements correctly, as that’s the key step to making everything right in the installation.
We hope our guide was helpful for you in installing vaulted ceiling beams in your home!
Frequently Asked Questions
What Are the Benefits of Vaulted Ceilings?
Vaulted ceilings can make a small room look bigger. Usually, in bigger cities, buildings are structured close to each other, allowing very little room for light to enter. In such situations, placing windows and openings in a vaulted ceiling can allow enough natural light to enter the room.
Will Vaulted Ceilings Suit All the Rooms?
There are no strict rules for installing vaulted ceilings in a home, as it depends on an individual’s preference. However, to make the best visual impact out of vaulted ceilings, they are usually preferred to be installed in bigger rooms or high ceilings.

